Paul Richards, guitarist and co-founder of California Guitar Trio, is also a fine art landscape photographer. In this April, 2025 interview Paul talks with his printmaker, Jon Lybrook, about his new print releases, the upcoming CGT Tour, the trials and challenges of being a working musician while making landscape photographs from around the world.
Jerry is one of our favorite artists to work with, and in this video you’ll see why. His talents behind the camera and the computer are only exceeded by his capacity for telling bad jokes and cringe-worthy puns in front of it! Photography and videography by Kathleen LoFaro.
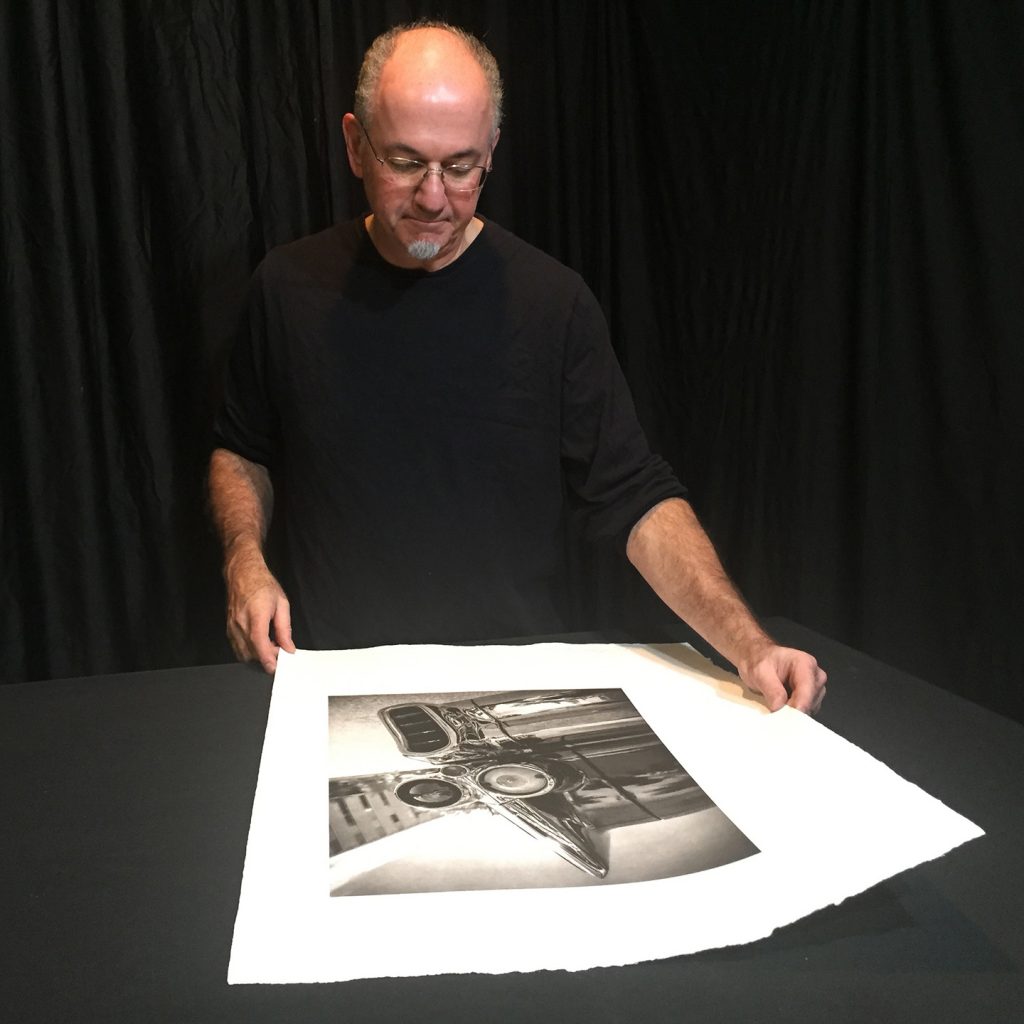
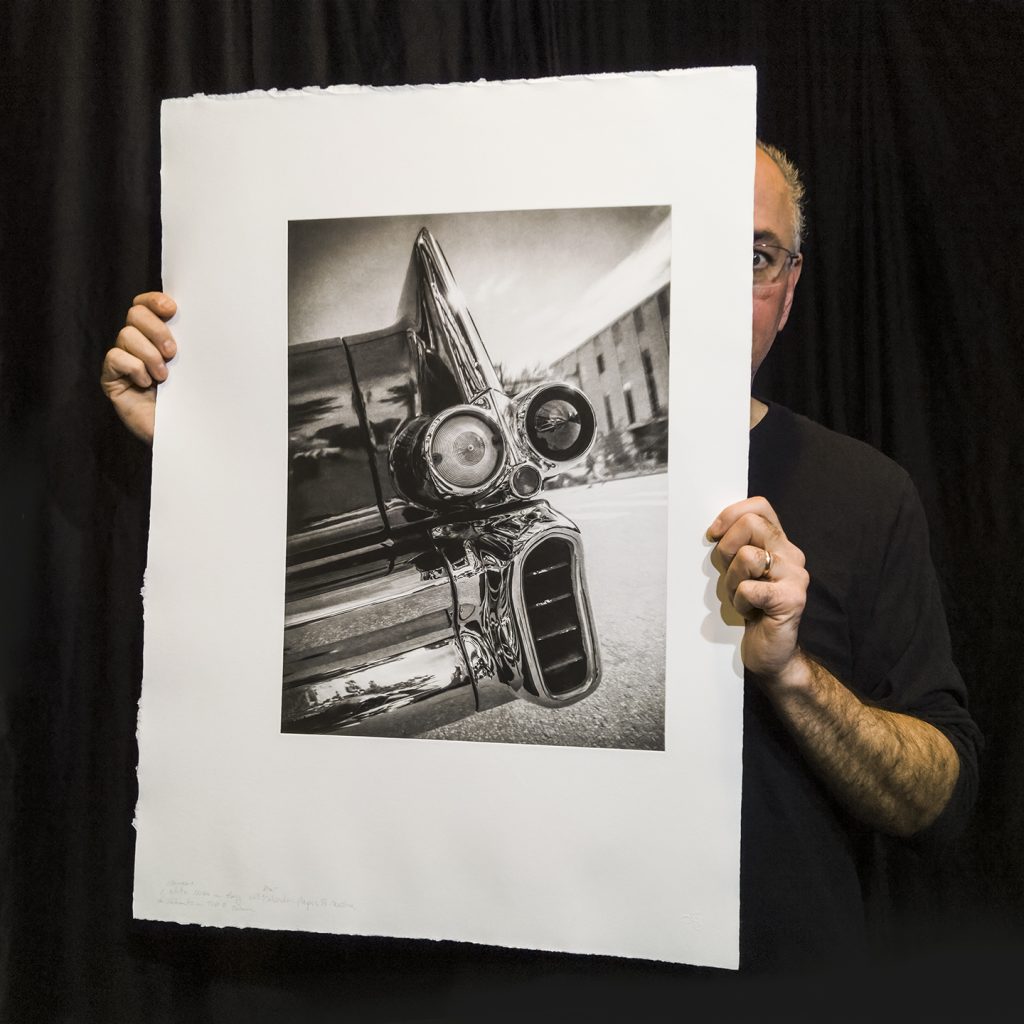
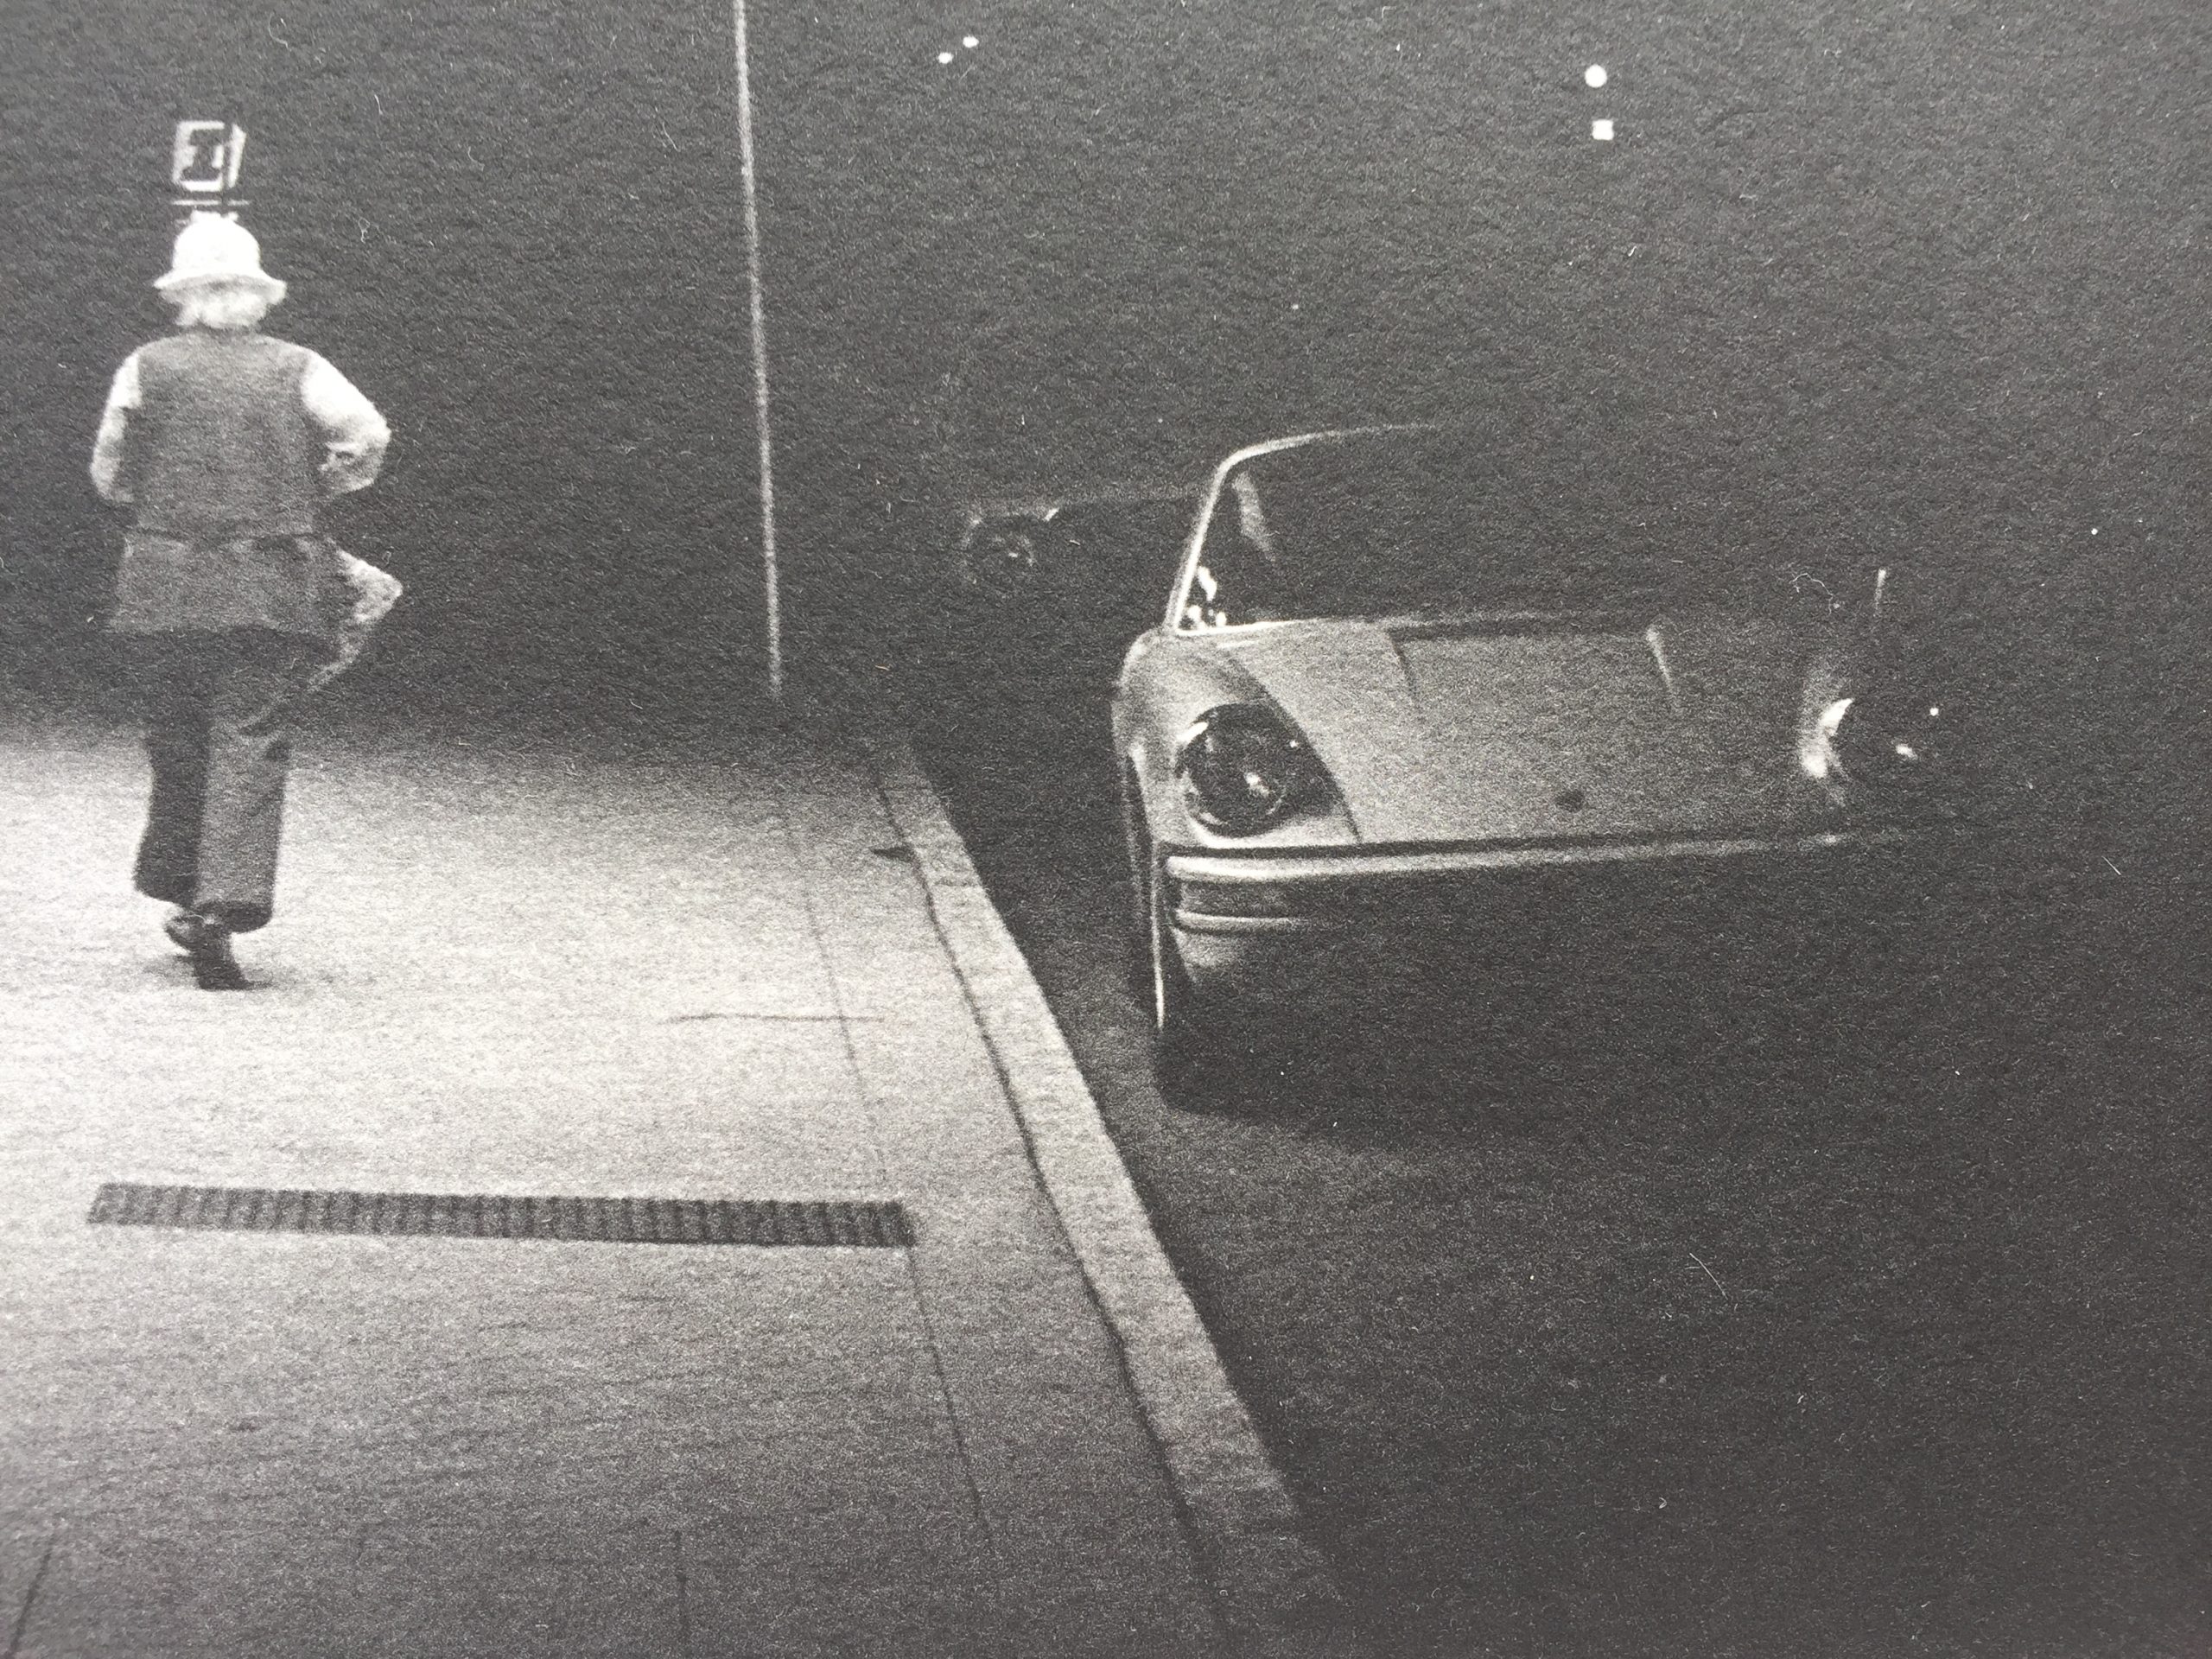
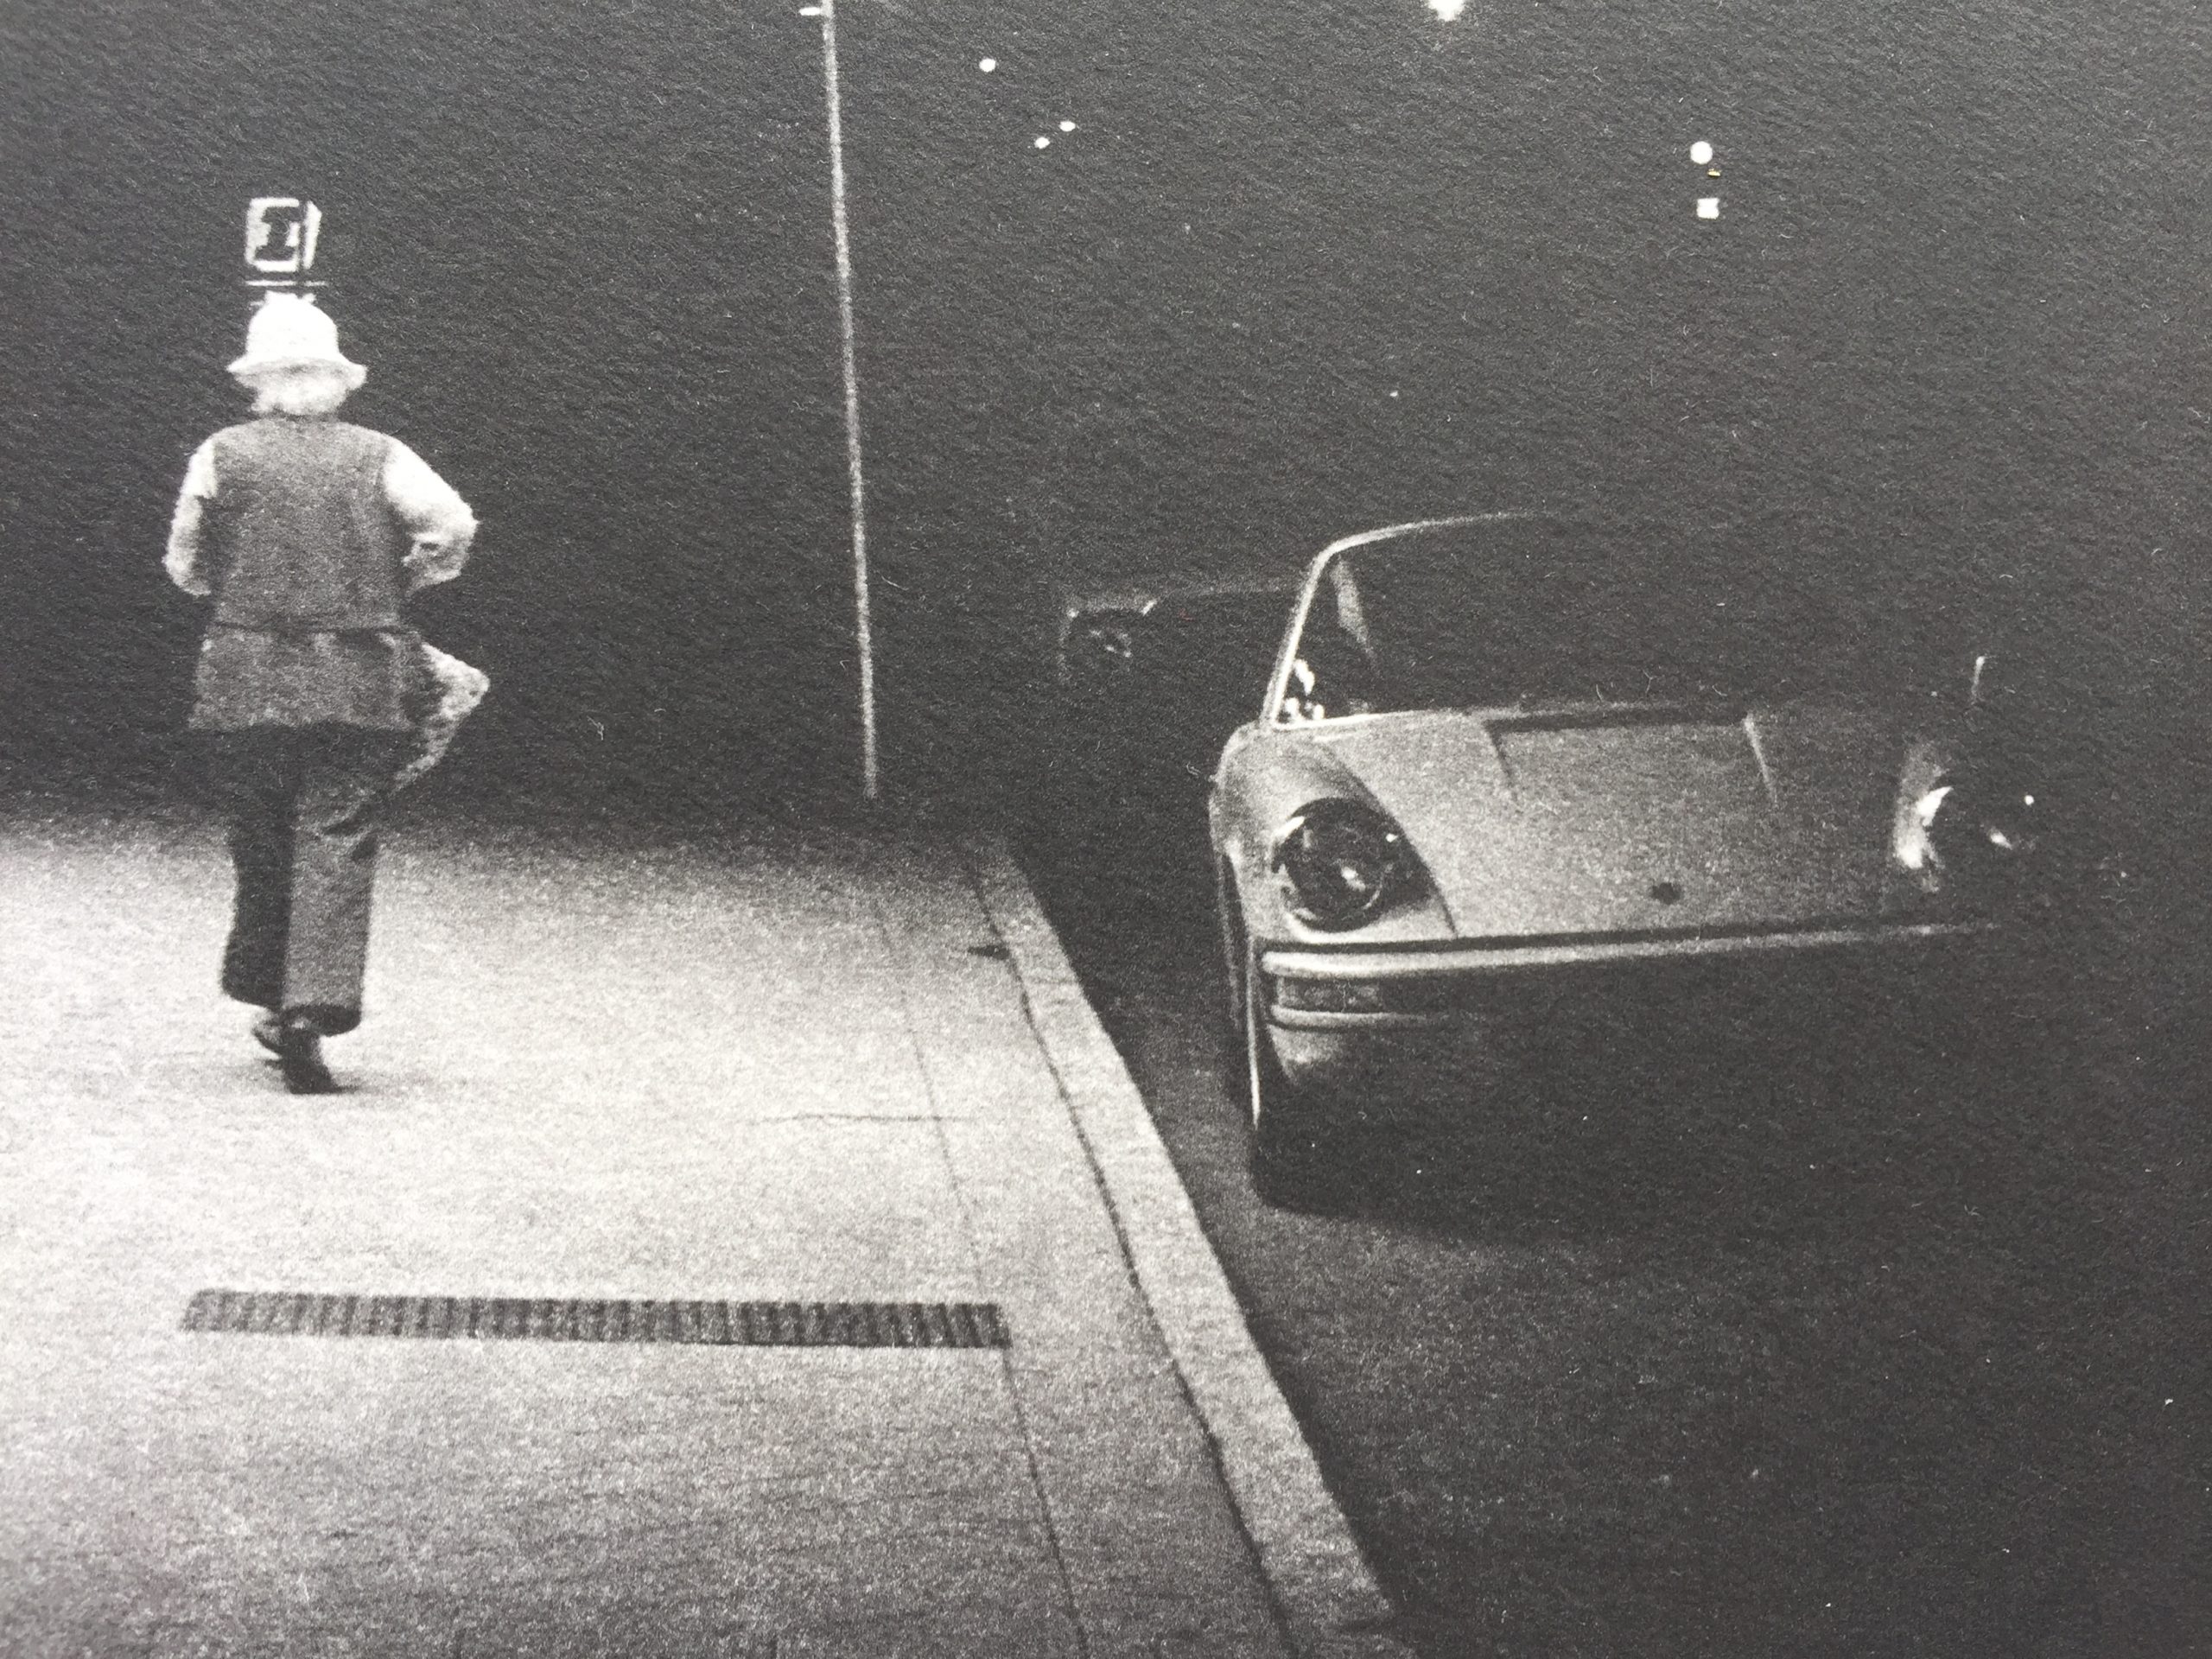
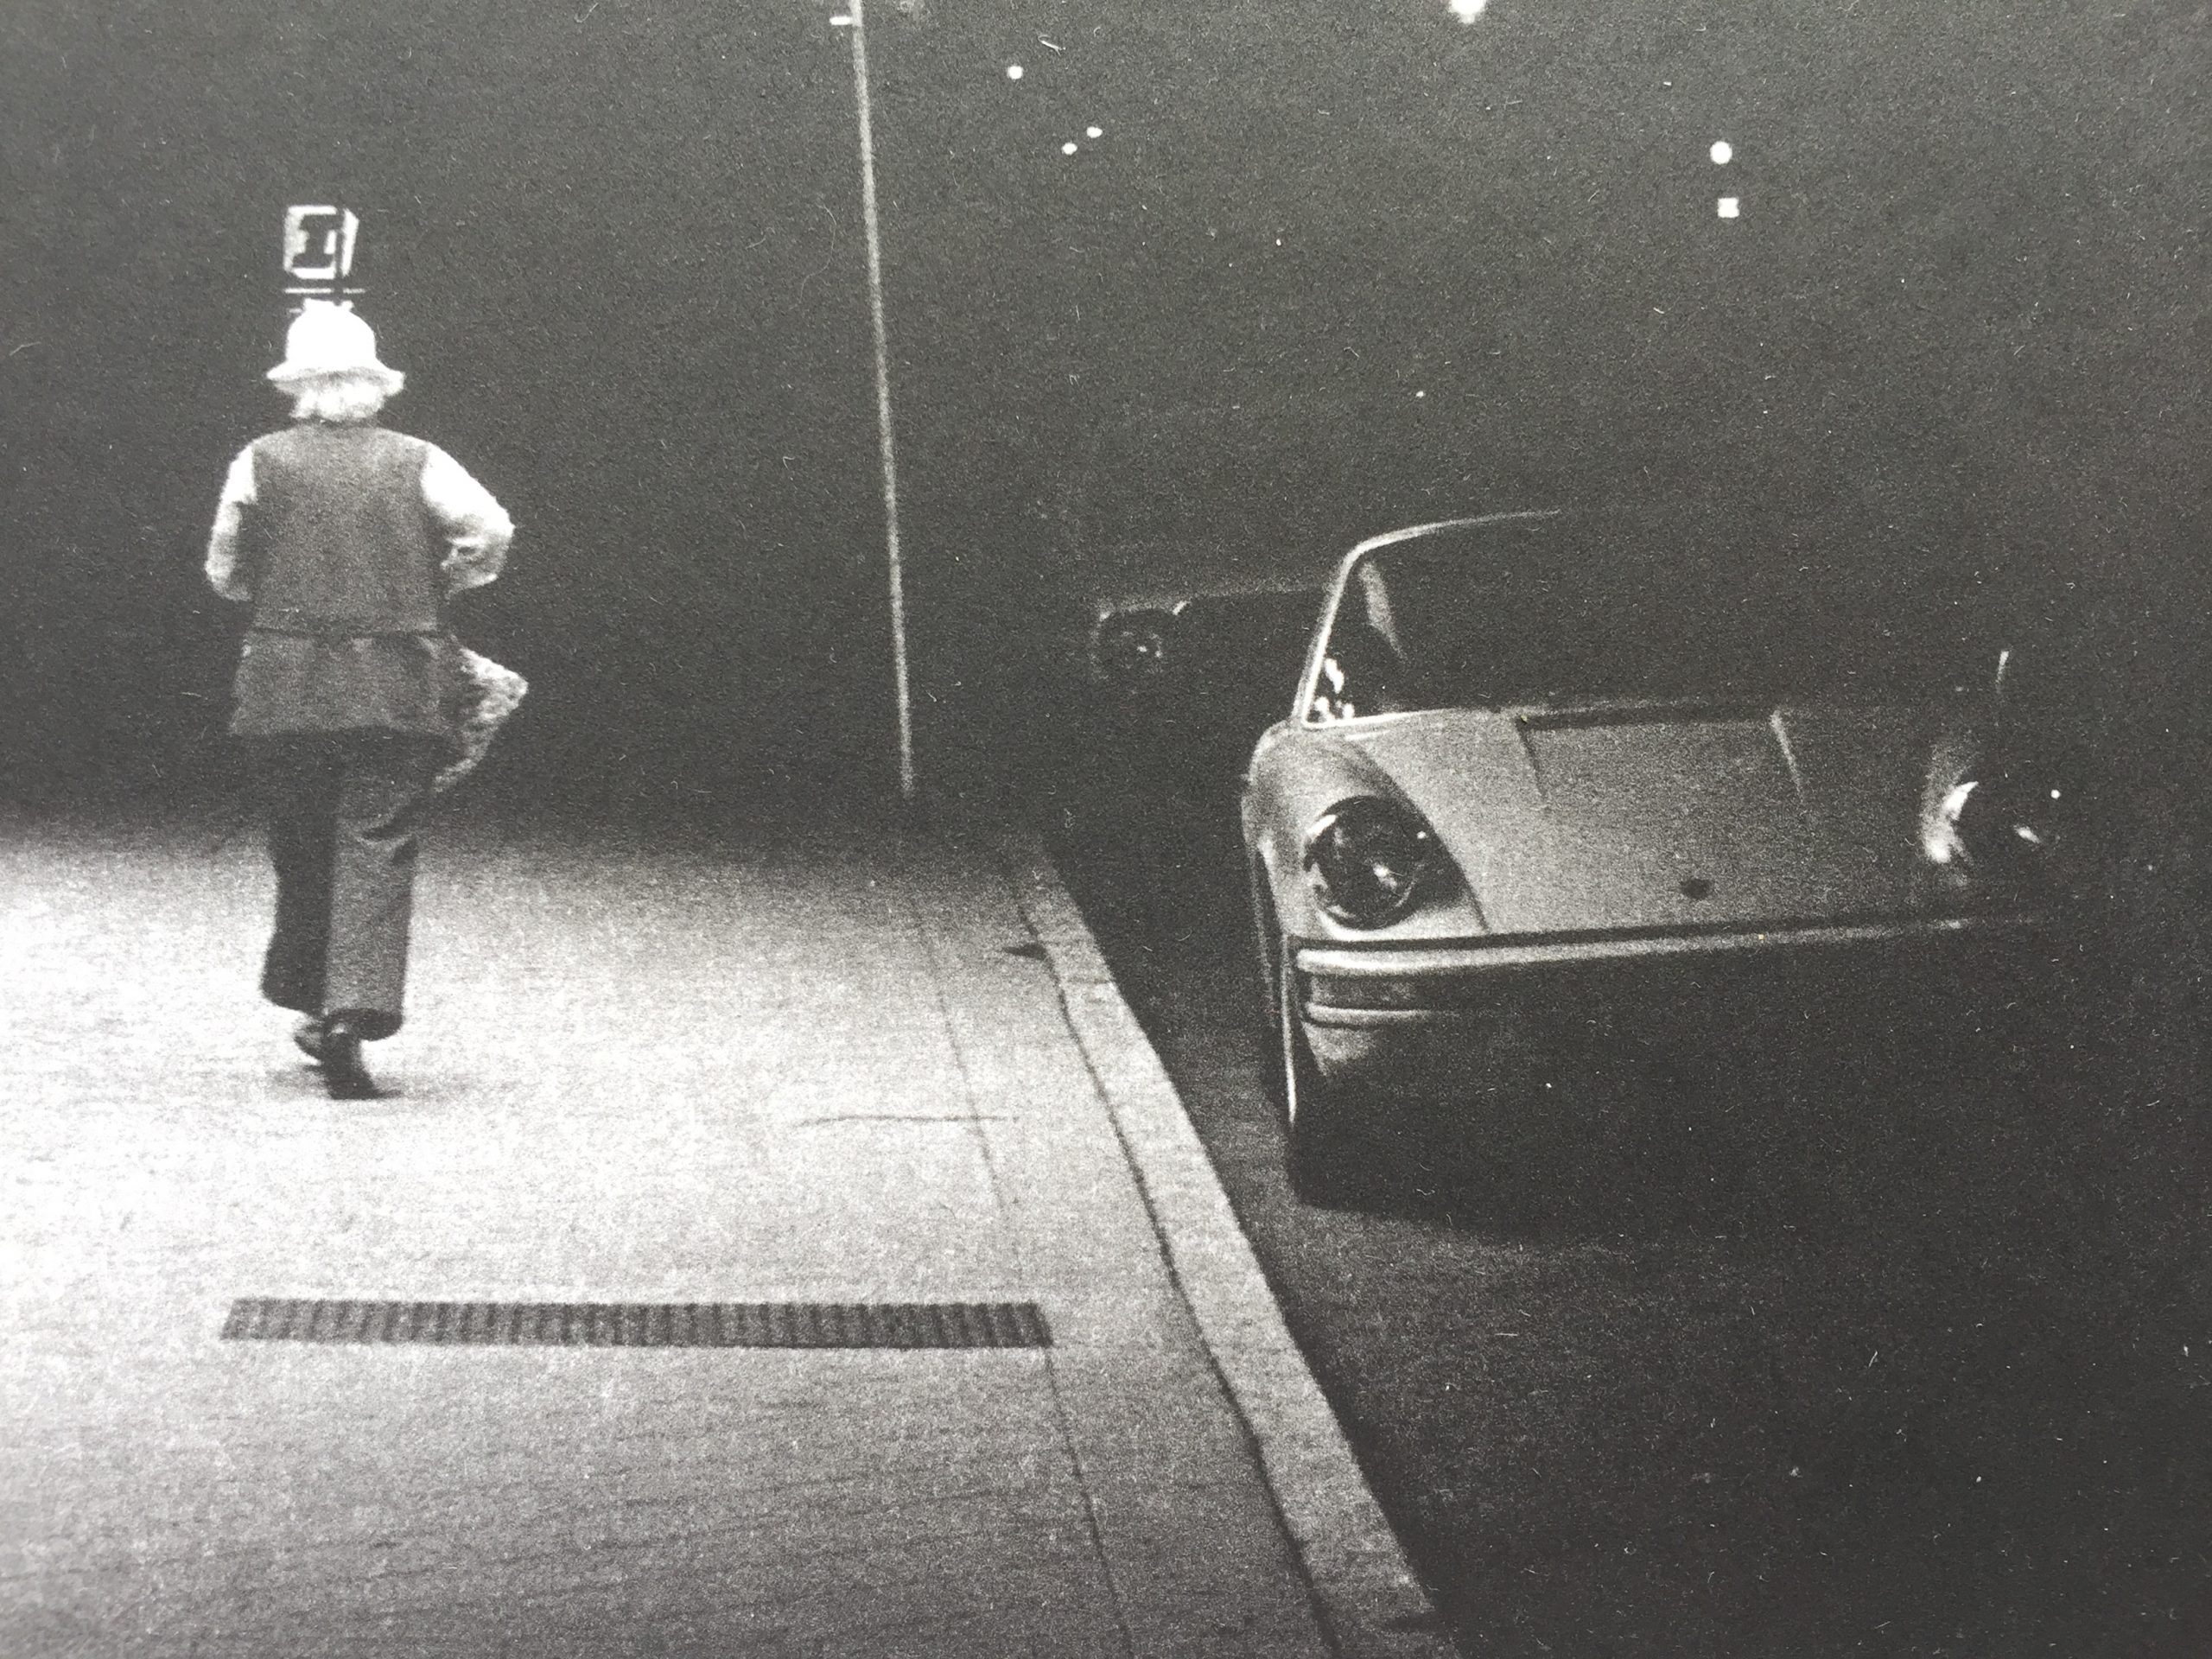
“Some of the design details from the late 1950s cars were pretty crazy – they where like chrome & plastic sculptures from a bizarro, futuristic world! However, I think the tail lights of the 1957 Cadillac Coupe de Ville were the most amazing, especially for it’s Mohawk topped, humanoid expression of surprise.
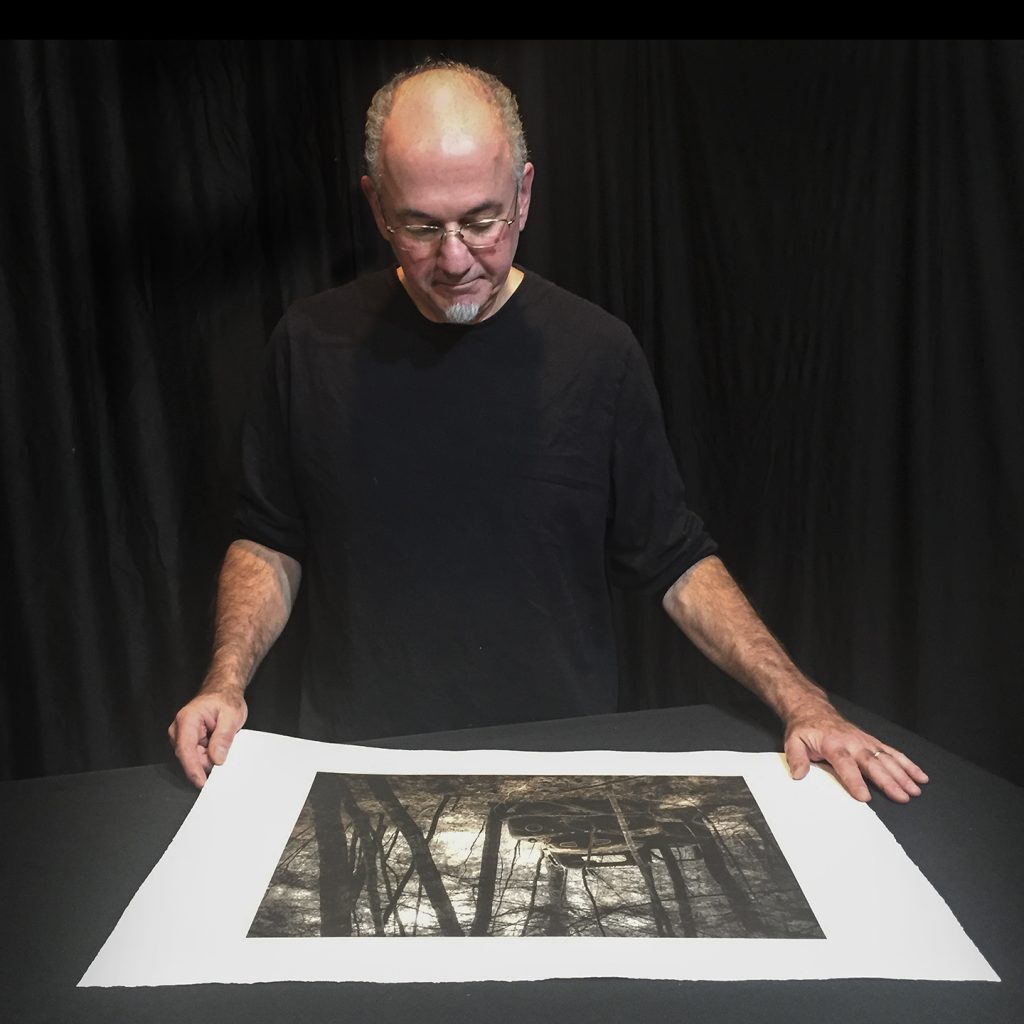
I first encountered this Ford truck on a neighbor’s property in 1997, shortly after we purchased our home just up the road from them. I thought it was pretty cool, but it somehow didn’t even occur to me to photograph it at the time. However, when the rusty bug finally bit me all these years later, I went out on a hot spring day in 2018 to find it still quietly tucked away, though much further out in the woods than I remembered.
I’ve photographed this beautiful barge of a car abandoned in the woods a few times, but “Panic on Main Street” is the first time I encountered a restored vintage model at a car show. I got to the huge Elm Street Classic Car Cruise in Manchester, NH late that September day, and as it was winding down I saw this car getting ready to drive off from it’s spot. I quickly asked the owner if I could take a few shots before he did, and I went right to the back and laid down on the hot pavement to capture this!
Jerry LoFaro holding the first intaglio proof of “Panic on Main Street” 2022
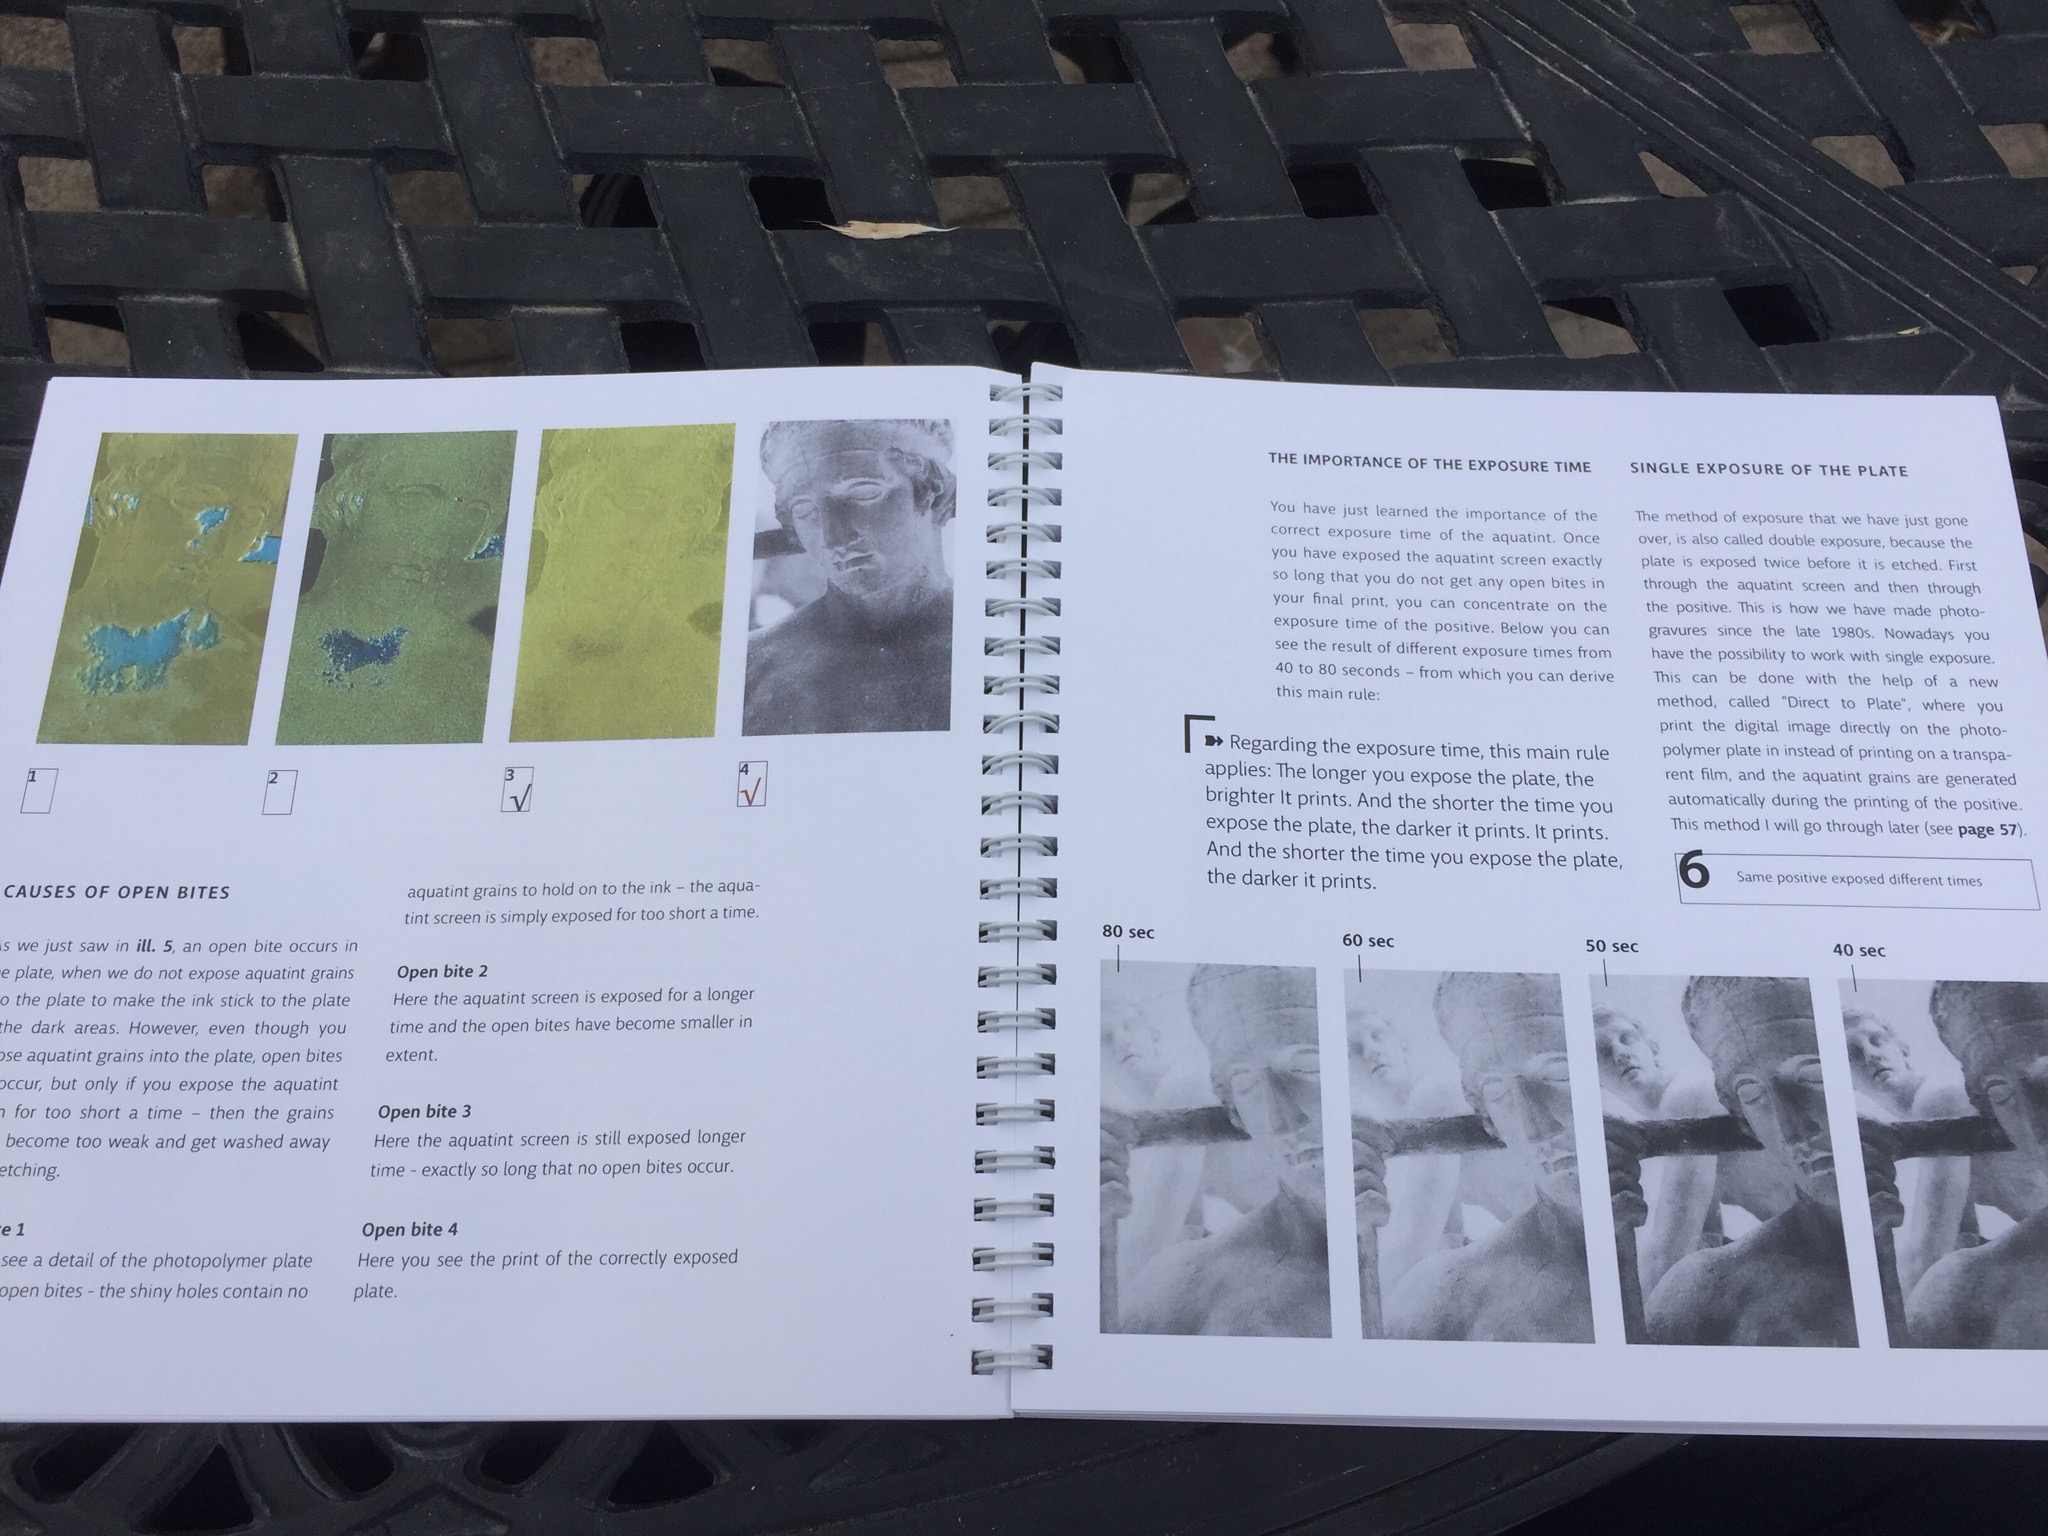
Artist Henrik Boegh of Denmark, author of Handbook of Non-toxic Intaglio: Acrylic Resists, Photopolymer Film & Solar Plates Etching has just released a must-have handbook that covers many of the basics of his first book for creating supurb plates and prints using the classic Double-exposure method and an aquatint screen. This book is for beginners and slightly more advanced for students with an interest in more advanced Duotone techniques, as well as Direct-to-Plate, or DTP.
Henrik is a veteran author and University professor who has taught printmaking for decades after leaving his post as Chair of the Economomics department at a prestigious university in Copenhagen to pursue his craft of printmaking.
This book cuts to the chase and provides essential guidance for the begining student and excellent set of guidelines and new approaches that may surprise even the most photographically critical printmakers.
Superb troubleshooting tips throughout the book keep the student informed of all the common pitfalls of his process and provides inventive approaches to creative mark-making not previoulsy published by this veteran author and artist.
We recently made a major change to our plate making workflow at Intaglio Editions, and added new quality-control steps for monitoring any changes in plate sensitivity among plate batches. We also confirmed changes in plate sensitivity occur in Toyobo KM73 plates over time — even when stored in ideal, light-safe conditions. Thanks for Clay Harmon for bringing this important variable to my attention in his artful book on making Double-Exposure polymer photogravure plates: Polymer Photogravure: A Step by Step Manual Highlighting Artists and their Creative Practices
This change in workflow includes employing a new method of deriving our process compensation adjustments using the Easy Digital Negatives system by Peter Mrhar. His method for deriving adjustments is effective, comprehensive and includes calibration workflows for scanners, spectrophotometer readings, as well as eyeballing it for those interested in doing it the hard way! The ability to calibrate a process compensation adjustment for any colored ink and paper has given us a much greater degree of control, no matter the ink color or medium.
Although his color blocking system looked promising for creating deep, rich blacks, foregoing it worked better for our workflow as it was introducing posterization we couldn’t address.
With such highly calibrated plates, I wanted to verify our assumptions about the go-to papers I’ve used for over a decade, and introduce some newer papers, and those we’ve had trouble with before, including 100% cotton papers, which introduced a white haze in our solid, rich blacks consistently. We’ve generally had much better luck using Hahnemuhle Copperplate papers. Wood fibers in the alpha cellulose seem to provide more solid fields of black with our workflow and custom 1245 dpi aquatint screen.
The Torinoko 92gsm gampi from Japan had the best fidelity of the three gampi papers we tested this round. The solid blacks, shadow detail, and crisp transfer from the plate make up for the fragile surface, which can easily be abraded in handling. The paper has an antique, suede feeling and texture and prints as well as the most expensive gampi papers.
Fine art printmaking papers used in our testing include:
NOTE: We have intentionally photographed the images below under a raking light to best illustrate the benefits and shortcomings of the different papers proofed under identical conditions. All the papers were pre-calendared and had the same approximate drying time. Click to enlarge details on any of the images below.
Hahnemuhle Copperplate Bright White 100% Alpha Cellulose (detail)
Consistent in continuous tone and image integrity, Hahnemuhle Copperplate remains our go-to paper for proofing and editioning.
Hahnemuhle Durher 100% Cotton Rag (detail)
Unlike the Copperplate, this radiant white Cotton Rag paper by Hahnemuhle did not hold up as we had hoped. It tested out as the worst paper for photogravure with our plates. We were consistent in steps for calendaring the paper, as well as printing without to give each paper every opportunity to show its unique qualities.
Arches 88 – 100% Cotton Rag (detail)
This classic waterleaf paper is designed for silkscreen and monotype. It’s 100% Cotton fiber makeup and zero sizing did not provide adequate structure to absorb the ink from our plates as cleanly as other papers.
We likewise had high hopes for Incisioni as it was the brightest white paper we tested. Although the contrast and quality of blacks created the most photographic-looking prints, it was too much of a good thing. With work, calendaring and careful assessment of paper moisture before printing we were able to get acceptable results.
======
Hahnemuhle Copperplate Bright White 100% Alpha Cellulose (detail)
Conclusion: While 100% Cotton paper can be problematic in getting optimal continuous tone with Intaglio Editions plates, the cotton papers Lanaquarelle and Somerset Velvet printed relatively well, with the clear champions remaining Hahnemuhle Copperplate “Bright” White and Warm White, and the 92gsm Torinoko gampi for the best looking Asian paper for the price for simple, one-drop photogravure prints and editions.
When I first put my procedure for making and printing polymer photogravure plates online in 2006, it was after a few years of my own frustrations in the process. I posted it in response to a lack of comprehensive information about the subject as it pertained to creating continuous tone images for photography. The traditional printmakers weren’t concerned with it, and the computer nerds (of which I am one) didn’t have any meaningful elbow grease or track record when it came to making traditional intaglio prints.
Jon Lybrook, Owner and Master Printmaker, Intaglio Editions
Picking up where others’ work had left off, I created a custom workflow and process compensation curve to accommodate a finer, higher-resolution aquatint screen than anyone else was using at the time. Our screen is 2-3 times as fine as traditional rosin dust used for aquatinting copper photogravure plates. At 1200 dpi, our fine, third-generation, heavy-duty aquatint screens with custom stochastic pattern are a double-edged sword. We don’t sell them to the public because they are less forgiving than coarser screening processes, but yield superior, fine continuous tones for photogravure when handled and used under a controlled environment using the tried-and-true KM73/83 plates by Toyobo, for which our screens and system for making continuous tone plates was designed.
While direct-to-plate (DTP) is easier and faster to teach polymer plate making certainly, it does not employ a critical, secondary aquatint layer to create the proper plate texture and variable depths. This is what gives photogravure its unique 3D qualities, otherwise you’re just printing a flat inkjet print that’s been transferred flatly to a plate. This critical aspect of plate depth and ink relief is among the most apparent qualities in traditional photogravure prints – when made on on finer, Asian, gampi papers, in particular. While hard to demonstrate in a digital image, the look of a traditional copper plate photogravure, when executed properly, is unmistakable.
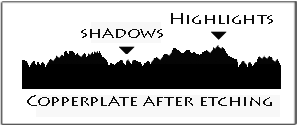
Cross-section of photogravure plate Illustration by Peter Miller
While DYI is all the rage, some artists need an experienced, dedicated technical collaborator who understands their goals. Finding someone who has an intimate knowledge of the photo mechanical process as well as intaglio printing itself, is still the same today as it was 150 years ago. Finding such an experienced artisan is certainly harder than it was way back then.
Intaglio Editions 20 x 30″ large plate
As far as process and workflow, not much has changed at Intaglio Editions in our 15 years working with artists, clients, and their collaborators. We still create custom plates to meet client specifications including plates crafted for a specific ink color. In proofing the work with the client to refine the nuances and going back to the digital file and reshooting plates as needed, we have been able to provide the optimal prints our clients demand for their fine art projects. What has changed since the early 2000s is our ability to branch out into new territory, following the traditional processes, bringing the use of polymer even closer to the look (and literal feel) of traditional copper photogravure, without the added toxicity and expense.
Isabel Eaton – Polymer Photogravre printed 2006 by Jon Lybrook
What makes Intaglio Editions Premium Photogravure Plates different is our custom, high-resolution aquatinting process, and our ability to offer extra large pre-made plates up to 23″ × 39″ (among the largest commercially available). While other methods are limited in size and often leave tell-tale “salt-and-pepper” grain in their photogravures, our traditional double-exposure method creates a more authentically etched plate and print, but at a price. It is more time-consuming and requires more steps and attention to detail than other methods.
So why do we do it? This extra work our process requires follows closer to traditional platemaking methods and gives our custom plates the edge, literally. Unlike newer plate processes, the surface of our plates have detail and textures can be felt by the fingertips. This demonstrates how we provide the smoothest continuous tones possible with this process more in keeping with traditional photogravure plates. Our plates and prints have been praised by artists, photographers and printmaking experts worldwide for their fine nuances, smooth tones, and shadow detail.
Intaglio Editions continues to offer the photogravure-quality plates we use in our printmaking to professional artists and printmakers who love making rich, photographic prints, but who may not be interested in becoming expert platemakers as well. This helps our friends and customers get faster results, and helps them achieve that last stride of excellence that so often eludes newer plate makers, or those new to photogravure printmaking.
New and experienced printmakers alike may want to take advantage of our long-standing $99 Trial Plate offer. We’ll create an 8″ × 11″ plate of your custom image using our custom, double-screened, high-rez platemaking method for just $99, to see if our plates don’t provide the smoothest, richest continuous tones you’ve ever seen from this process. Shipping, handling and customs, duties, or other fees will apply. Our Premium Photogravure Plates and other customer services are available at the Intaglio Editions Shop.
Recent work with photographer Larry D. Hayden kept us hopping for a few days in August head. Here’s a little video excerpt showing off Larry’s evocative work and how we printed it.
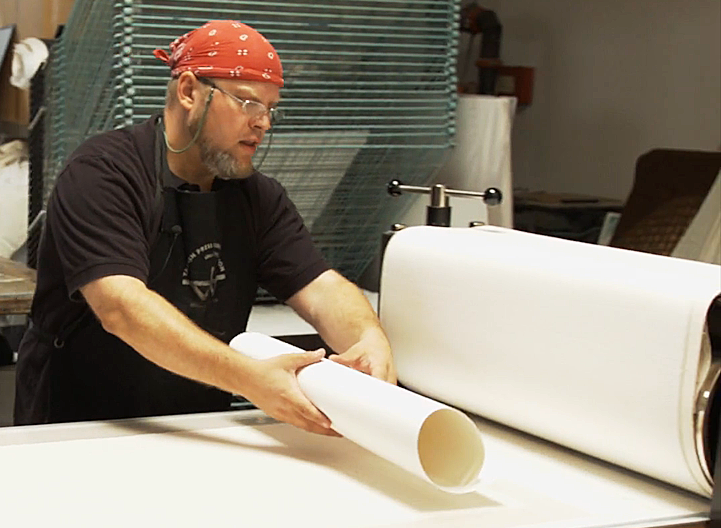
Printing for continuous tone using polymer plates is not easy. Not only do you need to be an experienced printmaker to get good results, but you also need to be a plate technician – or have the good fortune of having one in-house: Someone who knows how to render nuances and shadow details from an image and make large plates, without sacrificing sharpness, detail and quality.
This video demonstrates printing with polymer photogravure plates from Intaglio Editions for superior photographic prints. View Intaglio Editions photogravure printmaking video tutorial – and others – directly on our main website.
Newton Rings and Contact problems between the film positive and plate cause these white patches in the print.
Hi Jon,
I’ve been making plates for several years for my photography work and have only recently started having a problem with those dreaded spots on the plate and subsequently the prints. In researching the problem I came across your web page and it was the ONLY place I have seen a reference to these spots. I tried you suggestion of drying the transparency and then did a small 4×5 transparency of the image on plate and it seemed okay, but then when I did an 8×10 transparency with the same process, the plate had the dots again.
Do you have any further advice about this problem with Pictorico film? Or another film that might work without the problem. It’s maddening and I’ve lost several days of work and lots of plates trying to resolve it with no luck.
I have some Sihl film I’ve never used and considering it. Anyway, any help you could offer would be very appreciated. I know Dan Welden and he says it’s a problem with Pictorico. Is there a work around?
It is much easier to be successful with smaller plates. Larger plates have a learning curve all their own since it is a larger surface area, making tight, contiguous contact with the plate more difficult.
The problem of dark spots (which become white in the print) is typically a contact problem. In some cases it can be attributed to newton rings,. In most cases it is simply a lack of contiguous contact where the film is able to go out of focus and become diffuse in places, weakening the density in the plate in those specific areas.
Newton rings can occur between the glass of the vacuum frame, and film – or between the film and the plate. I avoid newton rings on top by using Kreene plastic instead of glass in my vacuum frame.
Two other solutions to avoiding newton rings with larger plates:
1. Pictorico now makes a textured film. The texture creates small cracks where air can escape, avoiding the newton ring issue on some level.
2. The other solution is to apply baby powder finely to the plate and/or film positive prior to the second exposure to the plate. I use it sparingly, and remove as much as possible with a hake brush before putting in the vacuum frame. It does the trick.
Hope that helps. LMK if you have any further questions and best wishes for your project!