Solving Newton Rings and other Pitfalls of Polymer Photogravure

Proofing the Plate

The thrill of victory… and the agony of defeat is a quote by the late sportscaster Howard Cosell that actually defines the span of emotions printmaking offers to the casual and professional practitioner! While there are many disappointments along the path, there is nothing as elating as pulling that perfect print you’ve been working on for days.

For those of you working with DTP (or direct-to-plate, this info may still be relevant since Newton Rings typically occur between the film positive and the plate. This is because inkjet film is porous, and made to hold moisture (specifically ink). The plate surface also has moisture (as well as a light coating that rinses off in the first few seconds of plate processing).  This moisture between the film and the plate is usually the cause of this pesky mottling, sometimes referred to as “measles”. It is characterized by wiggly patterns and collections of dark spots as shown below.
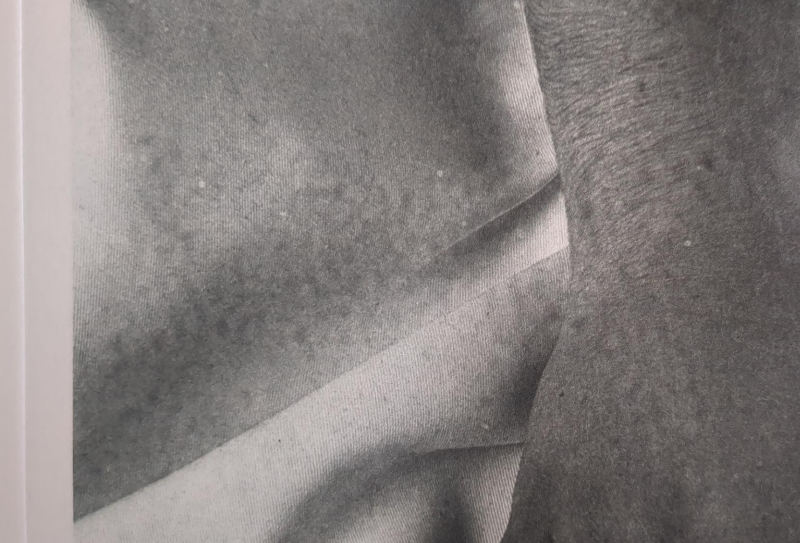
Newton ring example.

Newton ring mottling example in print
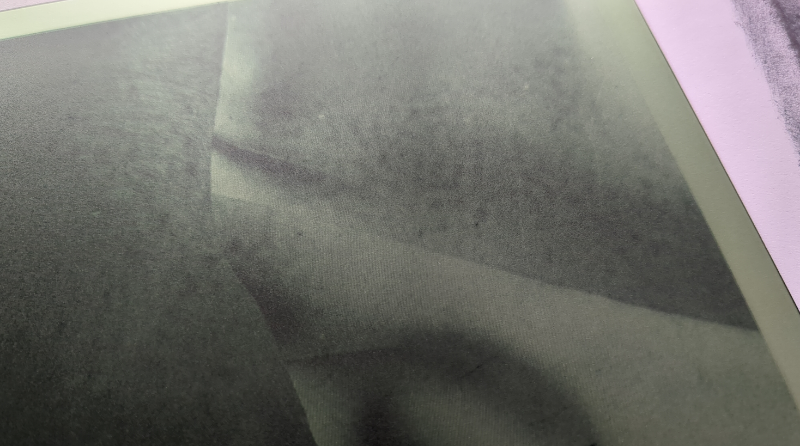
Newton ring example on plate.

Newton ring mottling example on plate.

In the exposure unit, Newton Rings are clearly visible in the example below as rainbow-iridescent patterns under the glass. These colored patterns block light from getting to the plate, causing unwanted patterns.
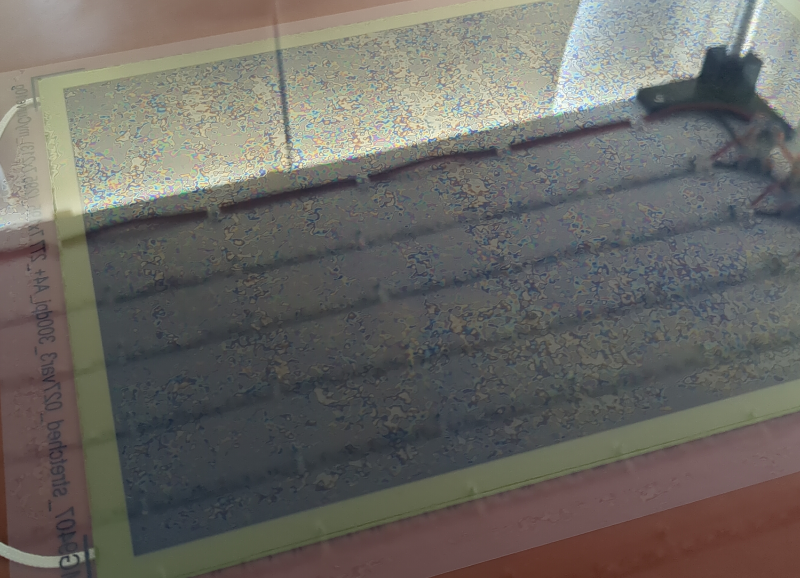
Newton rings forming prior to exposure.

Newton rings forming prior to exposure.

We do several things to prevent Newton Rings:
  1.  Dry the film positive in open air for 2-24 hours. then in a heated print drier for 10-12 minutes before exposing. A hair drier will work too.
  2.  Before aligning and exposing film positive, dust plate with baby powder lightly then brush away as much as possible,
  3. The main way we eliminated Newton Rings at Intaglio Editions was to replace the glass in our frame vacuum with Kreene plastic, as suggested to us by the kind folks at Boxcar Press, in Syracuse, NY. See the link to our full workflow at the bottom of this article.

Another common issue with platemaking is dust specks.  These look like a small, pure black, pinprick-sized dot, with a white halo around it.  This is caused by dust getting trapped between the plate and aquatint screen. We mitigate it in the shop by having air purifiers running near the exposure unit, and by wiping down the vacuum frame with anti-static cleaner before every plate made.

When troubleshooting, make sure your aquatint screen is clean too, and isn’t showing any of the same patterns, as you’re seeing in the print. I found that storing an aquatint screen on top of some unexposed plates for a period of time caused condensation to form on the screen, which showed up as mottling in subsequent plate exposures. The light residue was easily removed with film cleaner, but I wasn’t expecting that to be an issue, until it was.

Thanks to At Honig for their photo documentation.

View my full, but somewhat outdated, Polymer Photogravure Procedure here.

Working on a project with a budget means minimizing expenses. Save yourself massive headaches, months of testing, and thousands of dollars learning platemaking and order custom plates from Intaglio Editions in Colorado USA at https://shop.intaglioeditions.com  
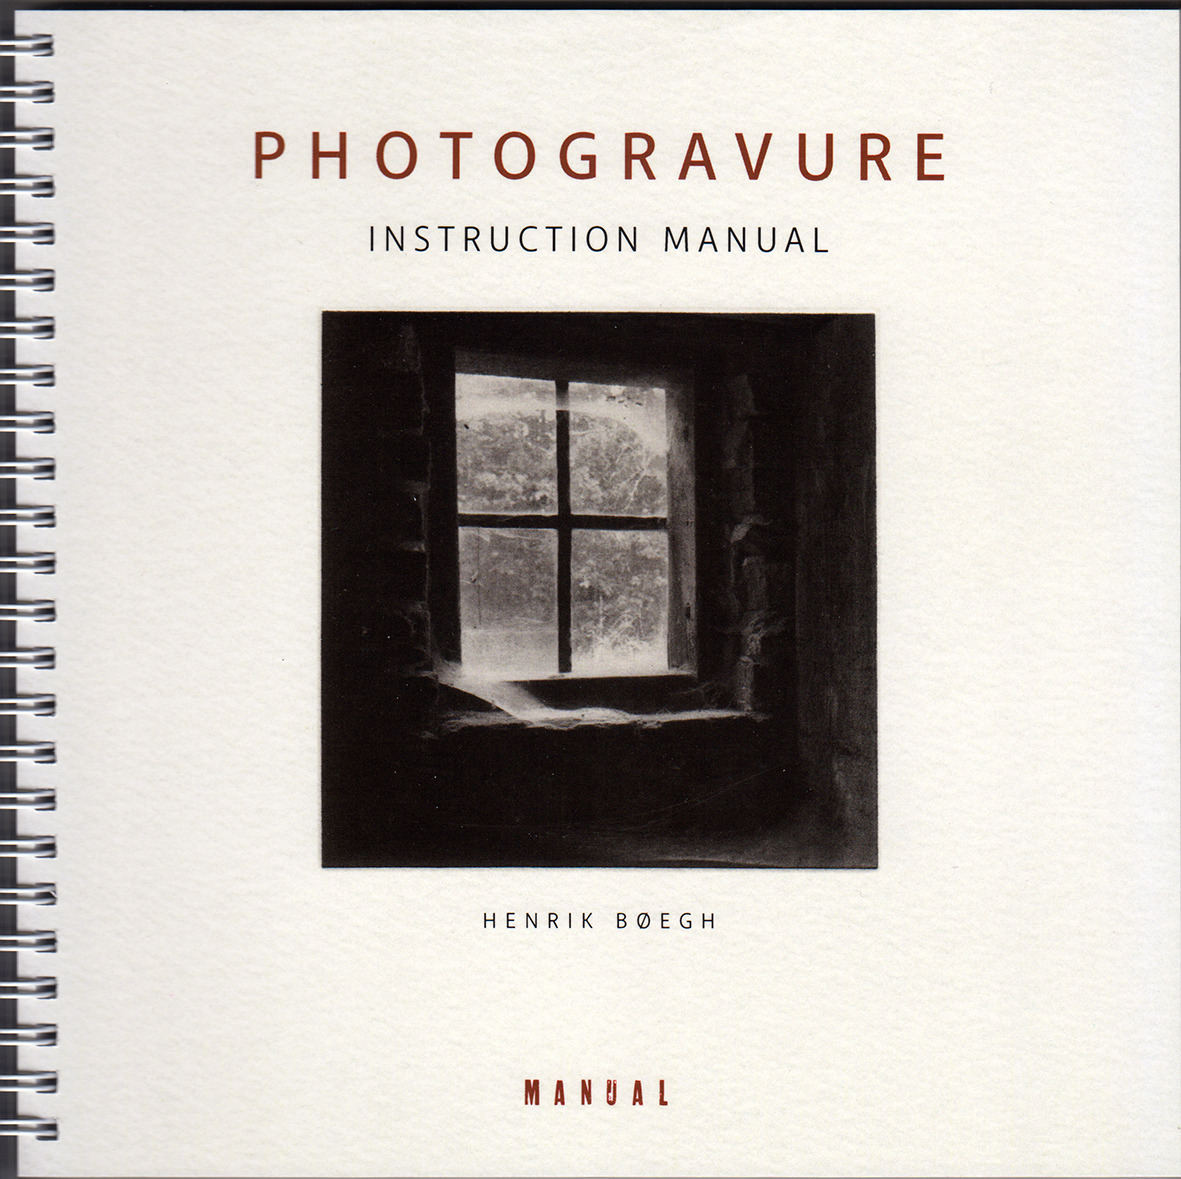

New Polymer Photogravure Book

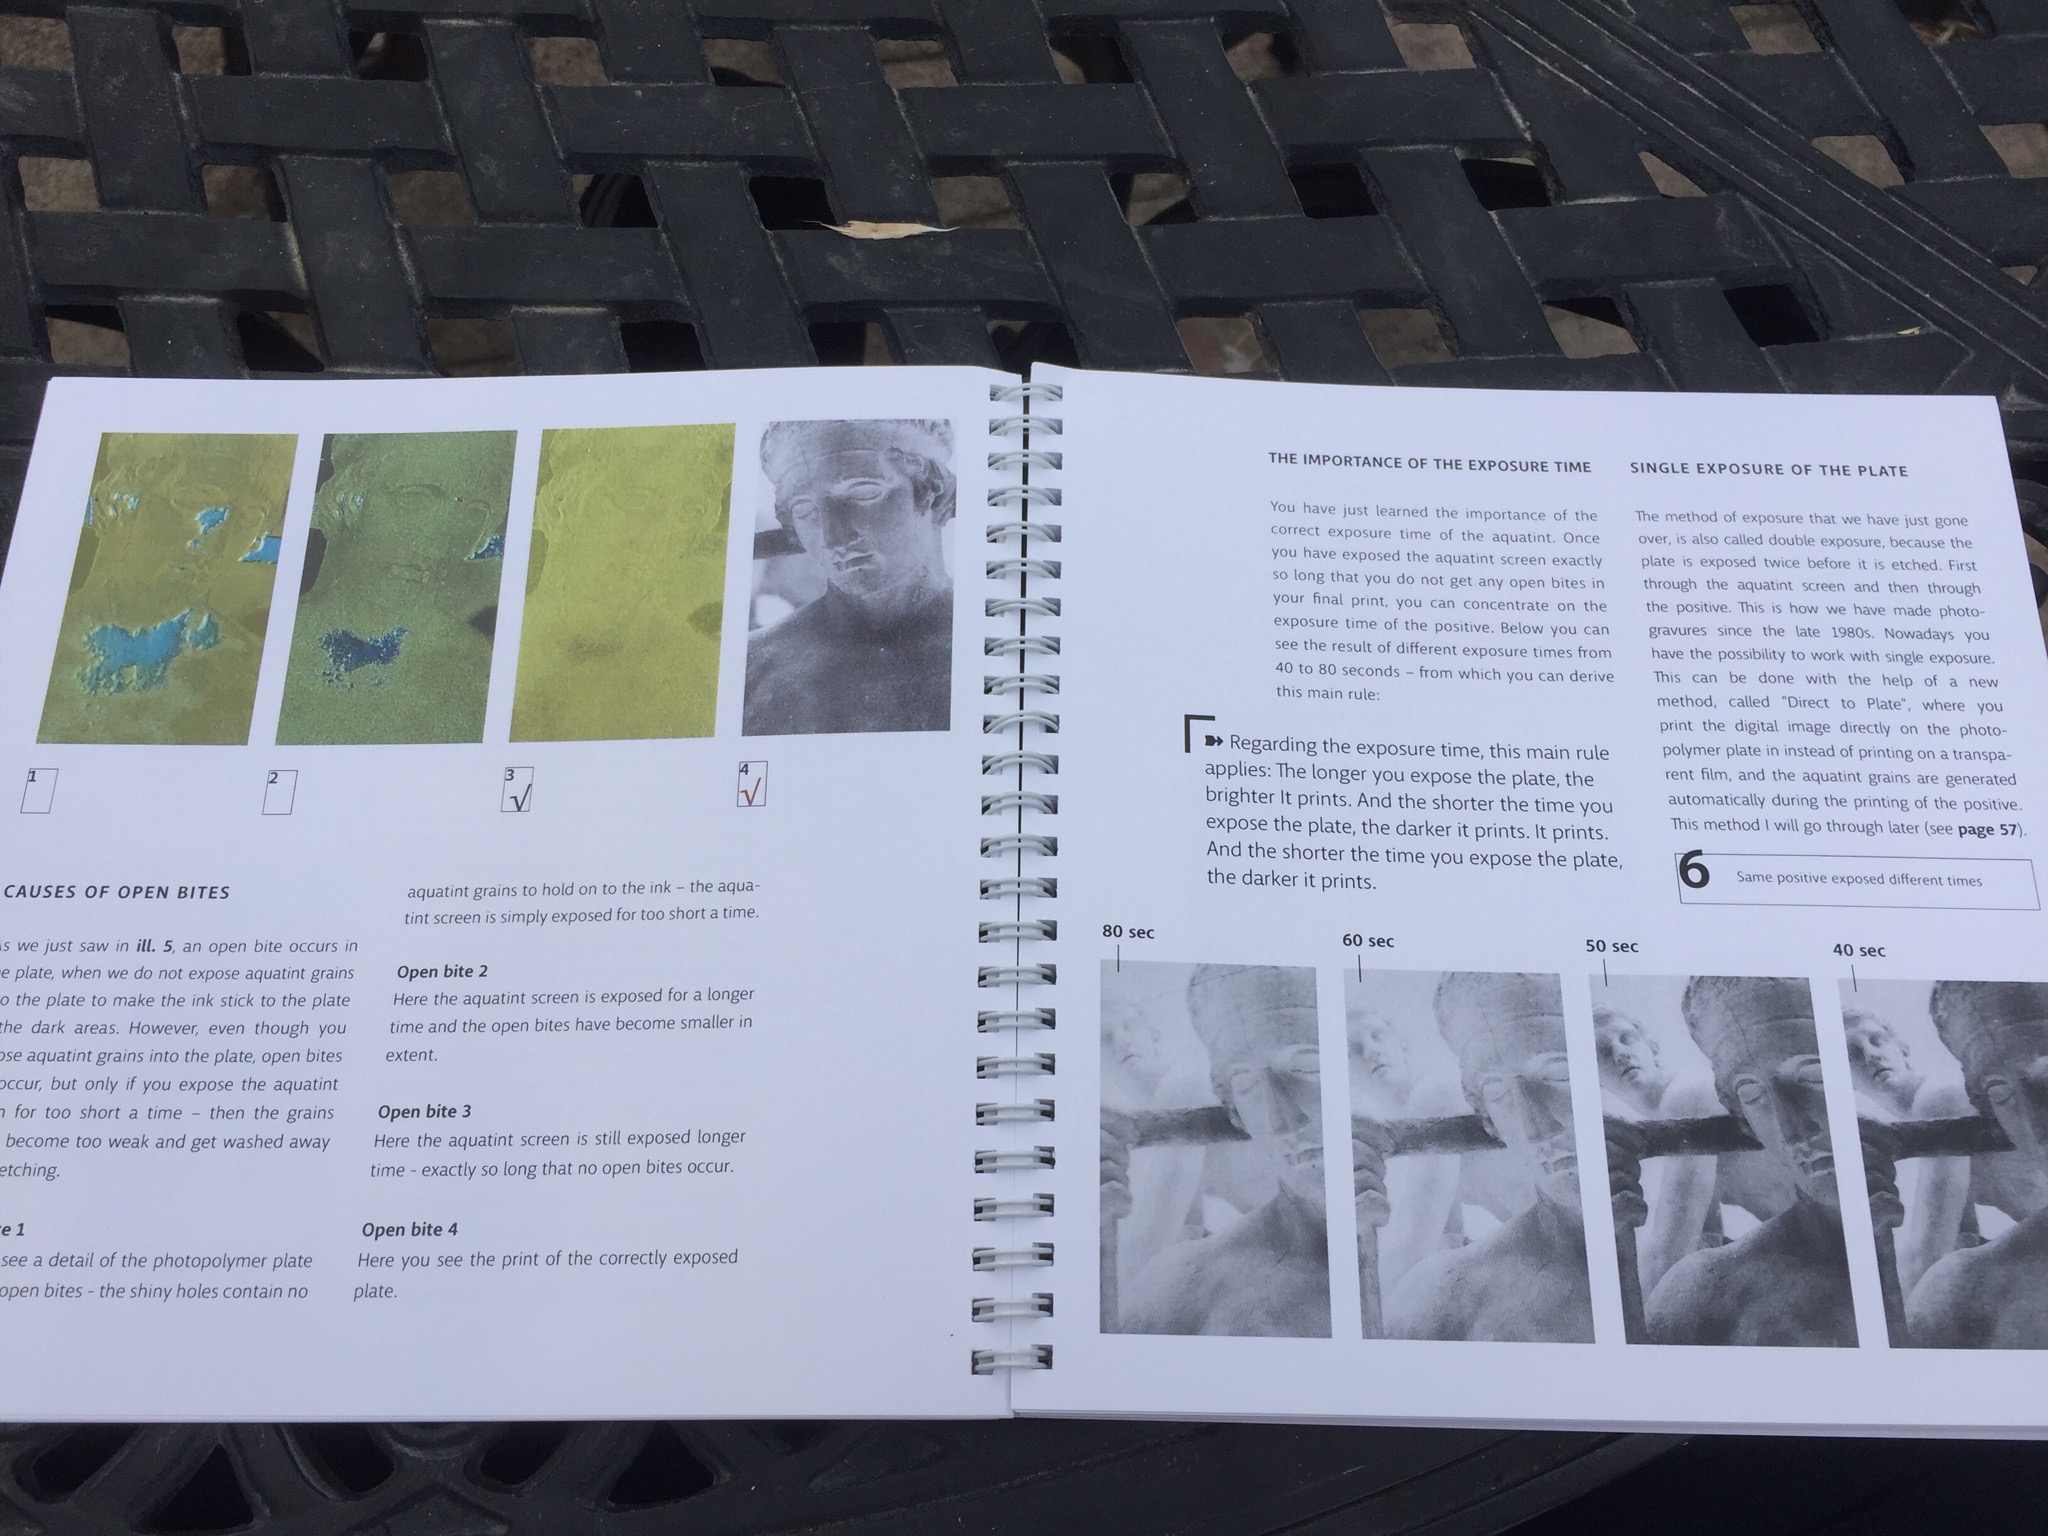
Photogravure Manual by Henrik Boegh

Artist Henrik Boegh of Denmark, author of  Handbook of Non-toxic Intaglio: Acrylic Resists, Photopolymer Film & Solar Plates Etching has just released a must-have handbook that covers many of the basics of his first book for creating supurb plates and prints using the classic Double-exposure method and an aquatint screen. This book is for beginners and slightly more advanced for students with an interest in more advanced Duotone techniques, as well as Direct-to-Plate, or DTP.

Henrik is a veteran author and University professor who has taught printmaking for decades after leaving his post as Chair of the Economomics department at a prestigious university in Copenhagen to pursue his craft of printmaking.

This book cuts to the chase and provides essential guidance for the begining student and excellent set of guidelines and new approaches that may surprise even the most photographically critical printmakers.

 Look inside the book and buy it here: https://www.grafiskeksperimentarium.dk/butik/photogravure-instruction-manual/photogravure-instruction-manual/?lang=en

Henrik Boegh – Photogravure Manual

Superb troubleshooting tips throughout the book keep the student informed of all the common pitfalls of his process and provides inventive approaches to creative mark-making not previoulsy published by this veteran author and artist.

Buy the Photogravure Handbook by Henrik Boegh here: https://www.grafiskeksperimentarium.dk/product-category/photogravure-instruction-manual/?lang=en

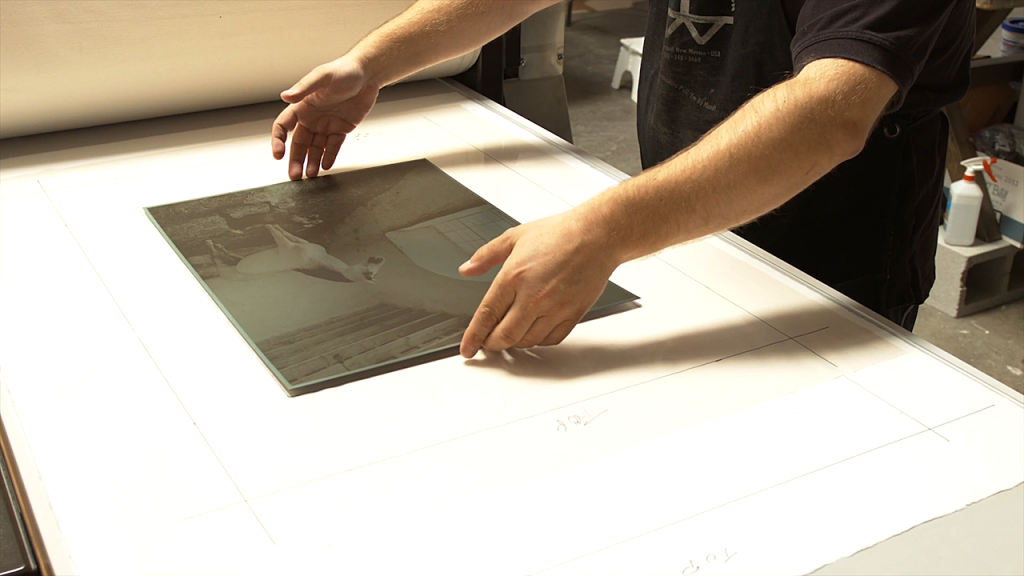
Wiping and Printing a Polymer Photogravure Plate in 60 Seconds

Recent work with photographer Larry D. Hayden kept us hopping for a few days in August head.  Here’s a little video excerpt showing off Larry’s evocative work and how we printed it.


Old Ideas Breathing New Life into Creativity

Cleaning up the intaglio editions website I came across an old file – not sure why it was on the website, but it reminded me of some techniques in intaglio I have yet to experiment with on the press. Granted these kinds of techniques could and probably should be simulated on the computer before going into the studio to save time, however there are occasions where what happens in the studio is a complete surprise and a gift that would never have occurred had one not ventured forward IRL (in real life) with curiosity and confidence.

So re-visit those old notebooks from time to time, as you might old friends.

Here’s what the old page of notes said:

My next plan is to try and do multiple plates – one for each of the tonal ranges
(shadow, midtones, highlights) and use complimentary colors for each of them.

– 02/22/04 – Create 3 plates:

  1. Get good black and white print first. Overall image must have rich blacks and nice, balanced tone.
  2. Last plate: Blacks only. Extract blacks from image and put it into it’s own plate. This will prevent ‘fuzzy’ look and will keep lines sharp.
  3. Middle and First plates – Midtone and Lighttone plates for use via a la poupee! Create two plates, on that contains the mid to preblack tones and another that ranges from highlights to midtones. — Try overlapping the mid areas on these two plates to prevent posterization, rather, color blending will occur in these areas…
  4. Inks of different viscosities will repel one another.
    1. Use a combination of translucent and concentrated inks, dob onto plate, then wipe by putting plate face down on stack of newsprint and firmly drag the plate in a particular direction. Do consistently for multiple wipings. Wipe in opposite direction in the same manner. Try rotating side to side too.
    2. Use magnesium carbonate to inks to make it stiffer and more viscous
    3. Use plate oil to make a ‘lean’, low-viscosity ink
  5. First plate – Lightest color

Only problem will be devising a process for coming up with somewhat accurate registration.

Instead of Q-tips or brushes or felt for a la poupee, use stiff brushes to deliver ink to plate.

Monoprints vs Monotypes

Monoprints are prints made using an etched plate, but inked in different ways.  Not to be confused with monotypes, which do not generally use a plate or matrix, monoprints can be made in variable editions – meaning made the same but with some differences among each print in the edition – or one-of-a-kind, like monotypes.  Monotypes differ from Monoprints in that there is no matrix, and is more freeform where ink is applied directly to a piece of unetched plexiglass or other material and printed.  Some monotype techniques include using mylar or other material to mask off and even pick up ink from certain areas of the plate for subsequent monotype printings.  Monotypes are truly one-of-a-kind pieces since there is no “permanent” plate matrix, and none of the forms and color blending can really be repeated the same way again.  They are, in effect, paintings done on a press.

Snapdragon 2 - monotype by Jon Lybrook

Snapdragon II – monotype by Jon Lybrook courtesy of the Will Witman collection.

Recently I met printmaker Julia Lucey from California who works exclusively with monoprints using traditionally etched copper plates.  Her etchings alone are wonderfully rich and detailed, but she doesn’t stop there.  She layers her prints with multiple plate impressions creating a cubist-like ensemble of pieces that make up the whole.

Julia Lucey Monoprint

Julia Lucey Monoprint

Julia gives a succinct explanation of traditional copperplate etching on her website.

Anti-Devil

Anti-Devil Monoprint by Jon Lybrook

Photogravure Polymer plates can likewise be used for monoprints in this same manner.  This piece was done all on one plate, which I first wiped clean with blank ink, then effectively painted over using colored inks.  Unlike traditional etching, photoshop can be used to superimpose or manipulate the artwork before the plate is made. This is also considered one of the disadvantages of polymer in that it is difficult to do much to rework the plate with much precision once it has been created because it is made of plastic. Still, there are things one can do with polymer for creative effects, such as scratching it with sandpaper, mottling it with water, or “drawing” into it with a soldering iron.

When it comes to monoprints vs monotypes, the bottom line is they are both beautiful printmaking techniques.  It’s just a matter of whether or not the printmaker wishes to use or reuse an etched, drypoint, or polymer photogravure plate.