Our last post about the top 2023’s Best 5 Printmaking Tips as concerned paper calendering prompted alot of questions on our website! So, I thought I should elaborate a little on the practice and value of calendering paper here at Intaglio Editions Fine Art Prints!
The verb ‘calender’ comes from the root word ‘cylinder’, which is what is used to make paper flat. In our case, we use the steel-faced drum of an intaglio printing press! All paper is calendered to a certain degree of flatness from the paper mill.
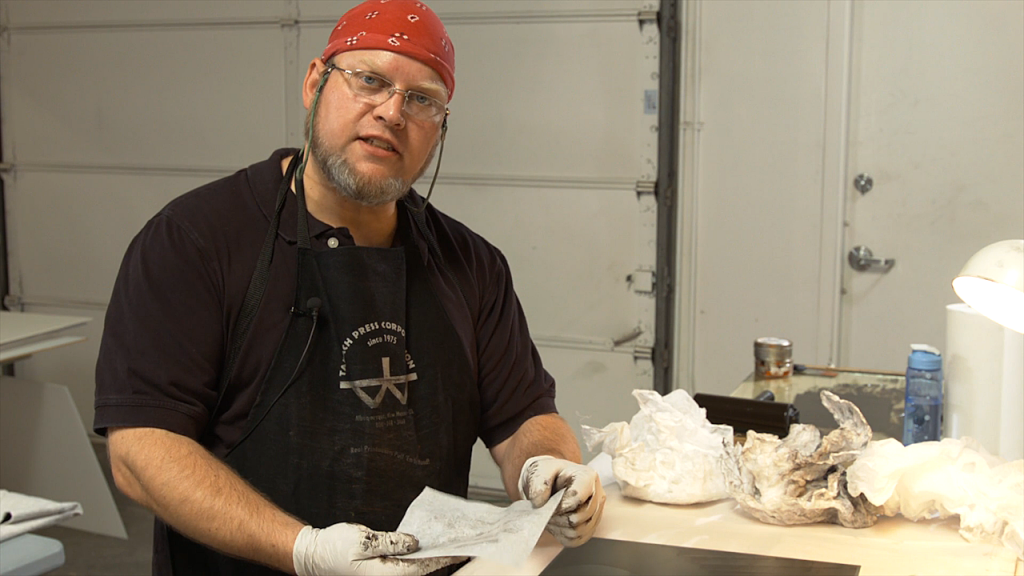
Calendaring paper with Jon Lybrook of Intaglio Editions.
However heavy-weight art papers often have added texture to their surface. Hahnemule Copperplate 300 g/sm is one such paper. Such texture can add noise in the continuous tones of photogravure prints, so we stretch and press the paper even flatter to address this.
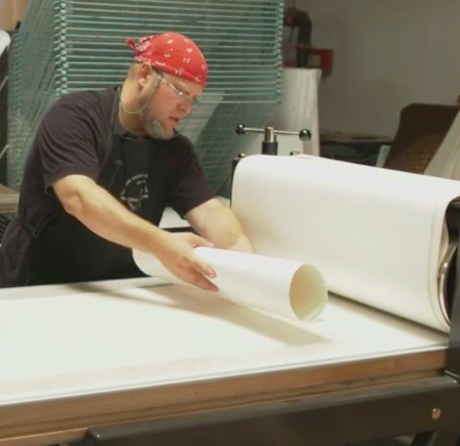
At Intaglio Editions, we soak paper for at least an hour. We then blot the paper between towels, and use a drafting brush to remove any particles or hairs that may have gotten transferred to the paper. The paper is then laid printable side down on the press bed against a smooth plexiglass, and covered with two similar sheets of heavy-weight paper. Paper is run through the press at least 2 times at hand-tight pressure. We then remove the paper and cover sheets, wipe down the bed, and register the plate. The plate is typically printed at slightly less than hand-tight pressure on the press bed.
Some finer papers, such as quality Japanese gampi, will not be made any smoother through calendering. These papers should be ‘ready to go’ straight from the vendor with no calendering needed.
When printing photogravure quality plates, also be sure to use 2-4 backing sheets to help ensure the pattern from your blankets doesn’t interfere with your continuous tones. Also remember to use pressed wool blankets – never woven – as these can leave a more noticeable pattern in continuous tone areas of the print).
Check out this excellent demo video on calendering paper on an intaglio press by Jeffrey Dell.