For Immediate Release (11/17/21)
King Crimson Print Collection by Tony Levin Available For Pre-Orders, Shipping Early 2022

Bass Legend and Photographer Tony Levin’s King Crimson Print Collection Available for Pre-Orders, Shipping Early 2022
• Eight stunning, limited-edition prints spanning Tony Levin’s work with King Crimson since the early 1980s
• Every print is signed, numbered, and certified by Intaglio Editions LLC
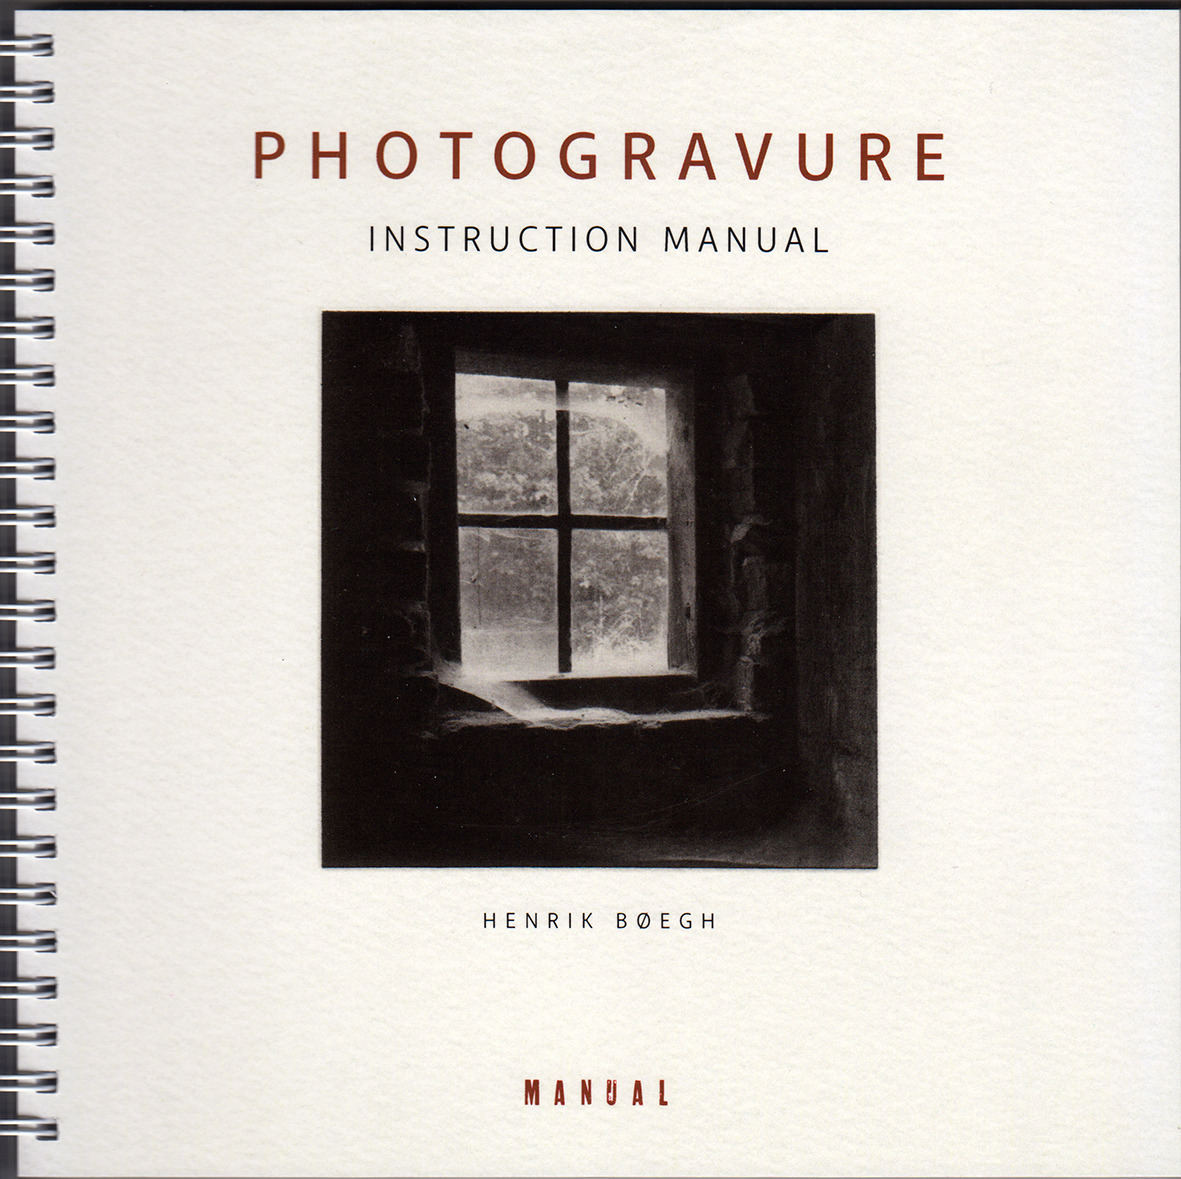
• Prints are made by contemporary photogravure printmaker, Jon Lybrook
• Available as individual prints or in a limited-edition, custom-crafted clamshell print collection box
• The first public orders are assigned print numbers 11-50 out of 500 prints total in each edition
• Pre-orders are now being accepted at TonyLevinPrints.com
“Tony Levin is not a bassist. He just happens to play the bass.” – Robert Fripp
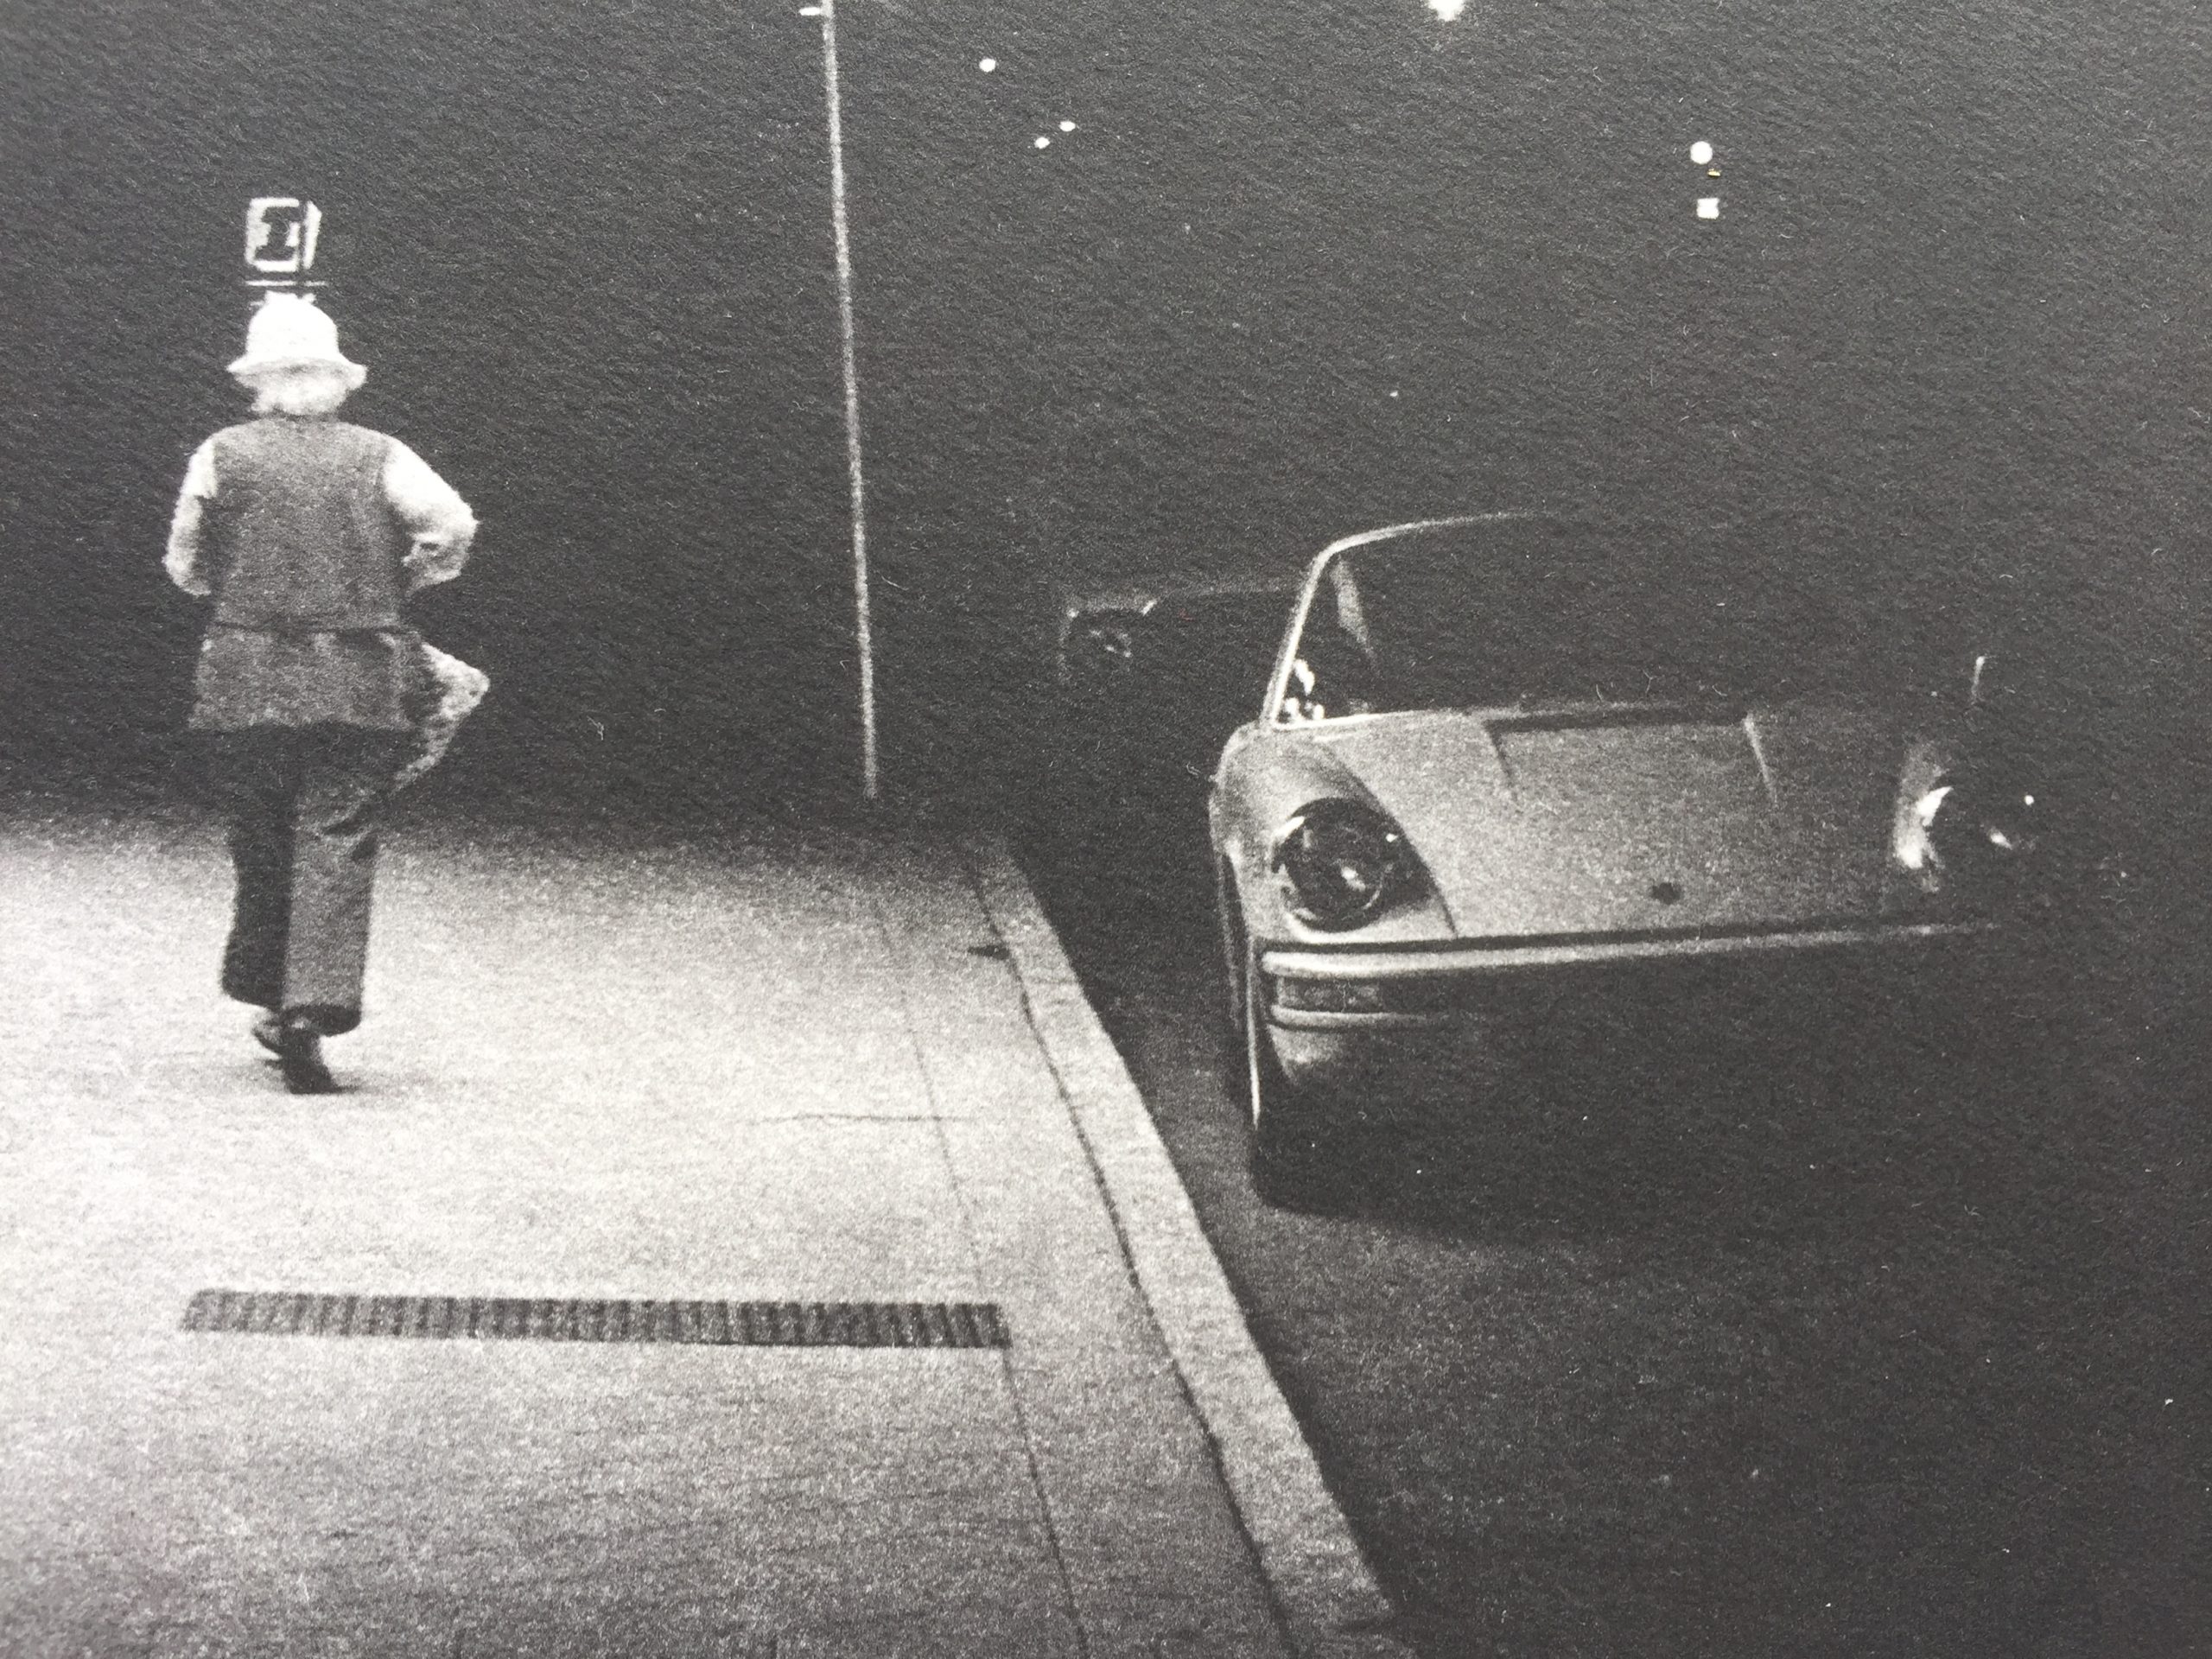
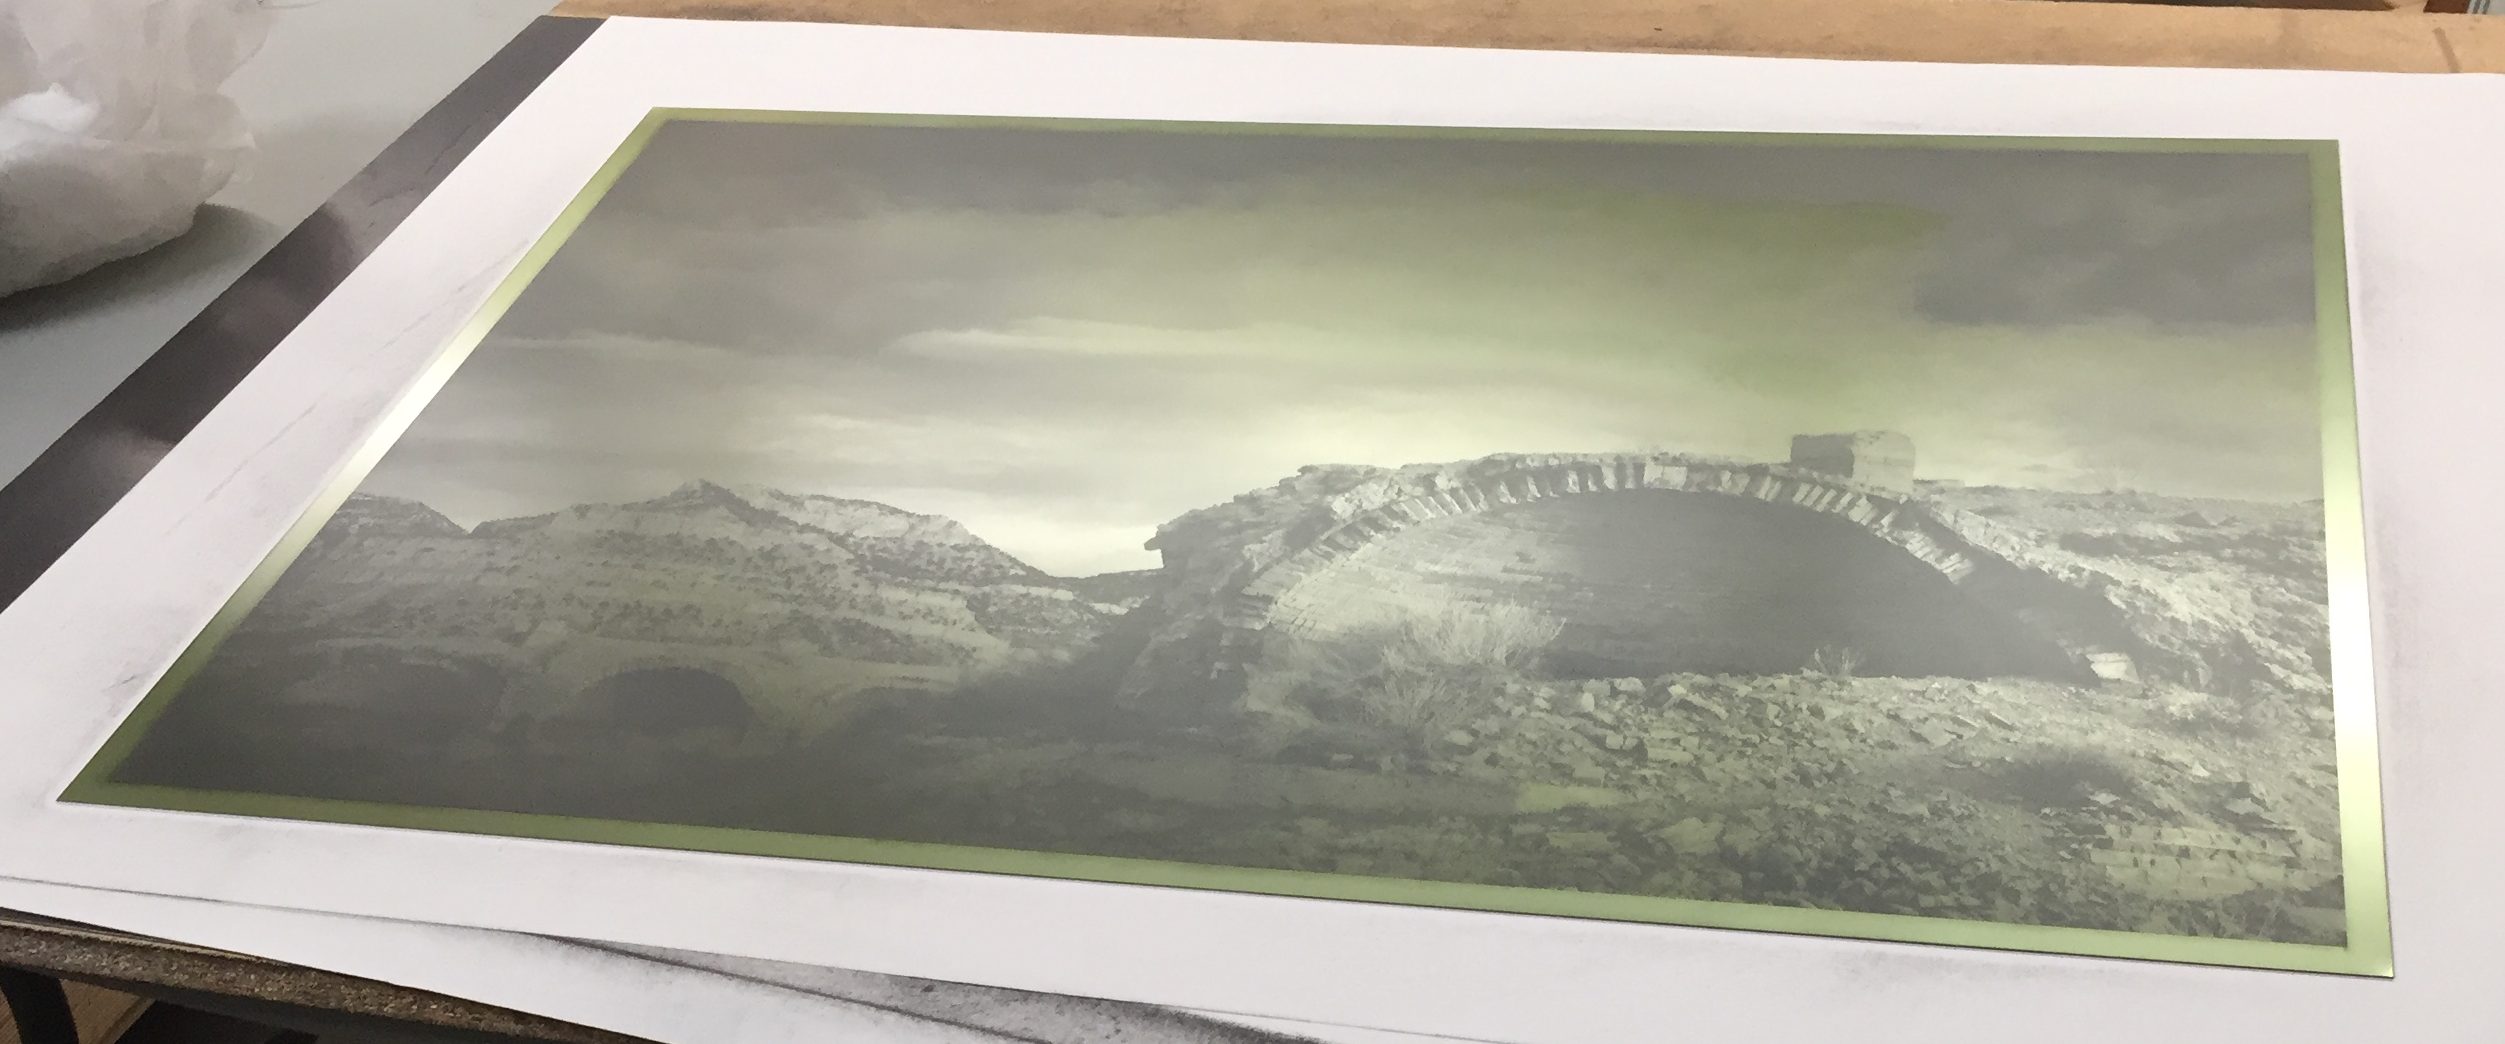
Tony Levin (King Crimson, Peter Gabriel) has been photographing his touring experiences since the early 1980s. Tens of thousands of photos later, he’s compiled eight of his favorite photographic moments from forty years of touring with King Crimson. These prints include:
1. Adrian Belew, Backstage 1981
2. Bill Bruford, Bristol 1981
3. King Crimson, Faro, Portugal 1982
4. King Crimson, Royal Albert Hall 2019
5. King Crimson, Asbury Park 1982
6. On the Shinkansen 1981
7. Perkins Palace Marquee 1981
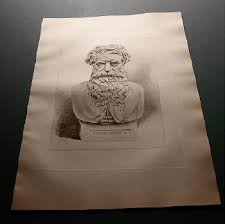
8. Robert Fripp, Krakow 2018
This collection is a must-have for any serious King Crimson collector and can be purchased as a set or individually. Tony’s photography offers a unique perspective from the stage that cannot be replicated.
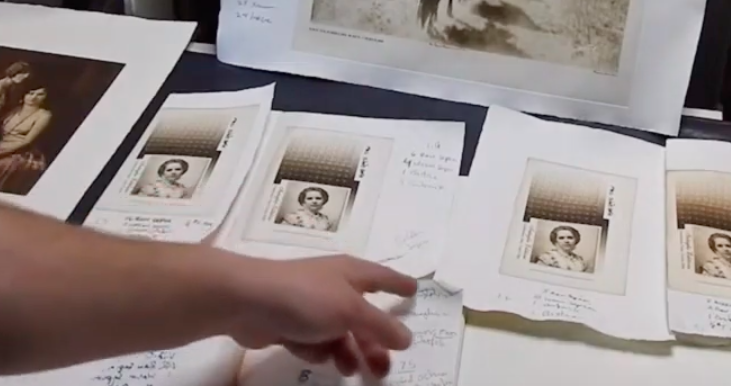
All photos are hand-titled and signed by Tony Levin. They are a limited print run of 500 photogravure prints. The first public orders of the Special Edition Box are assigned print numbers 11-50.
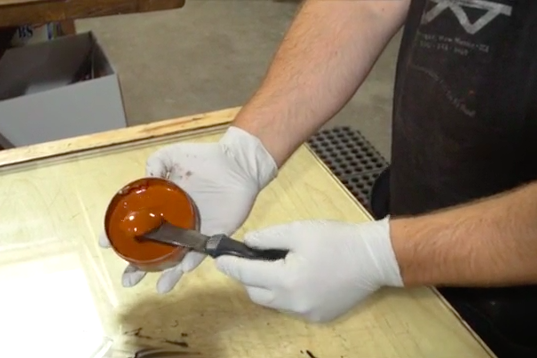
Each print is handmade on a traditional intaglio press using materials that will last for generations. They are printed with low or acid-free ink on 22.25 x 15.5” Hahnemuhle Copperplate Brite White, 300 g/sm alpha cellulose paper with torn, deckled edges. These same ink and paper formulas used in Tony Levin’s print collection have been used by printmakers in Europe for hundreds of years.
Signed and stamped certificates of authenticity are issued with every print.
The traditional, fabric-lined, limited-edition, clamshell-style, 24” x 17” print collection box for Tony Levin’s King Crimson Print Collection is custom-crafted using archive-grade materials for storing and preserving prints cleanly and elegantly. Cotton gloves are included for clean handling of the prints.
“Jon Lybrook is a true master. His prints exude an expertise, that only very few fine art printers in the world control on the same level.” – Professor Henrik Bøegh – Grafisk Eksperimentarium – Copenhagen, Denmark
Jon Lybrook is a Fine Art Printmaker based in Colorado. Jon has worked with photographers and artists for nearly two decades through his company, Intaglio Editions LLC (https://intaglioeditions.com/). He has studied the craft with traditional printmakers from around the world including Henrik Boegh, Dan Welden, Mark Lunning, Ron Pokrasso, David Hoptman, and has worked as both a printmaker and consultant.
Watch the Make Weird Music interview with Tony about his history with photography and art:
To pre-order: https://TonyLevinPrints.com